
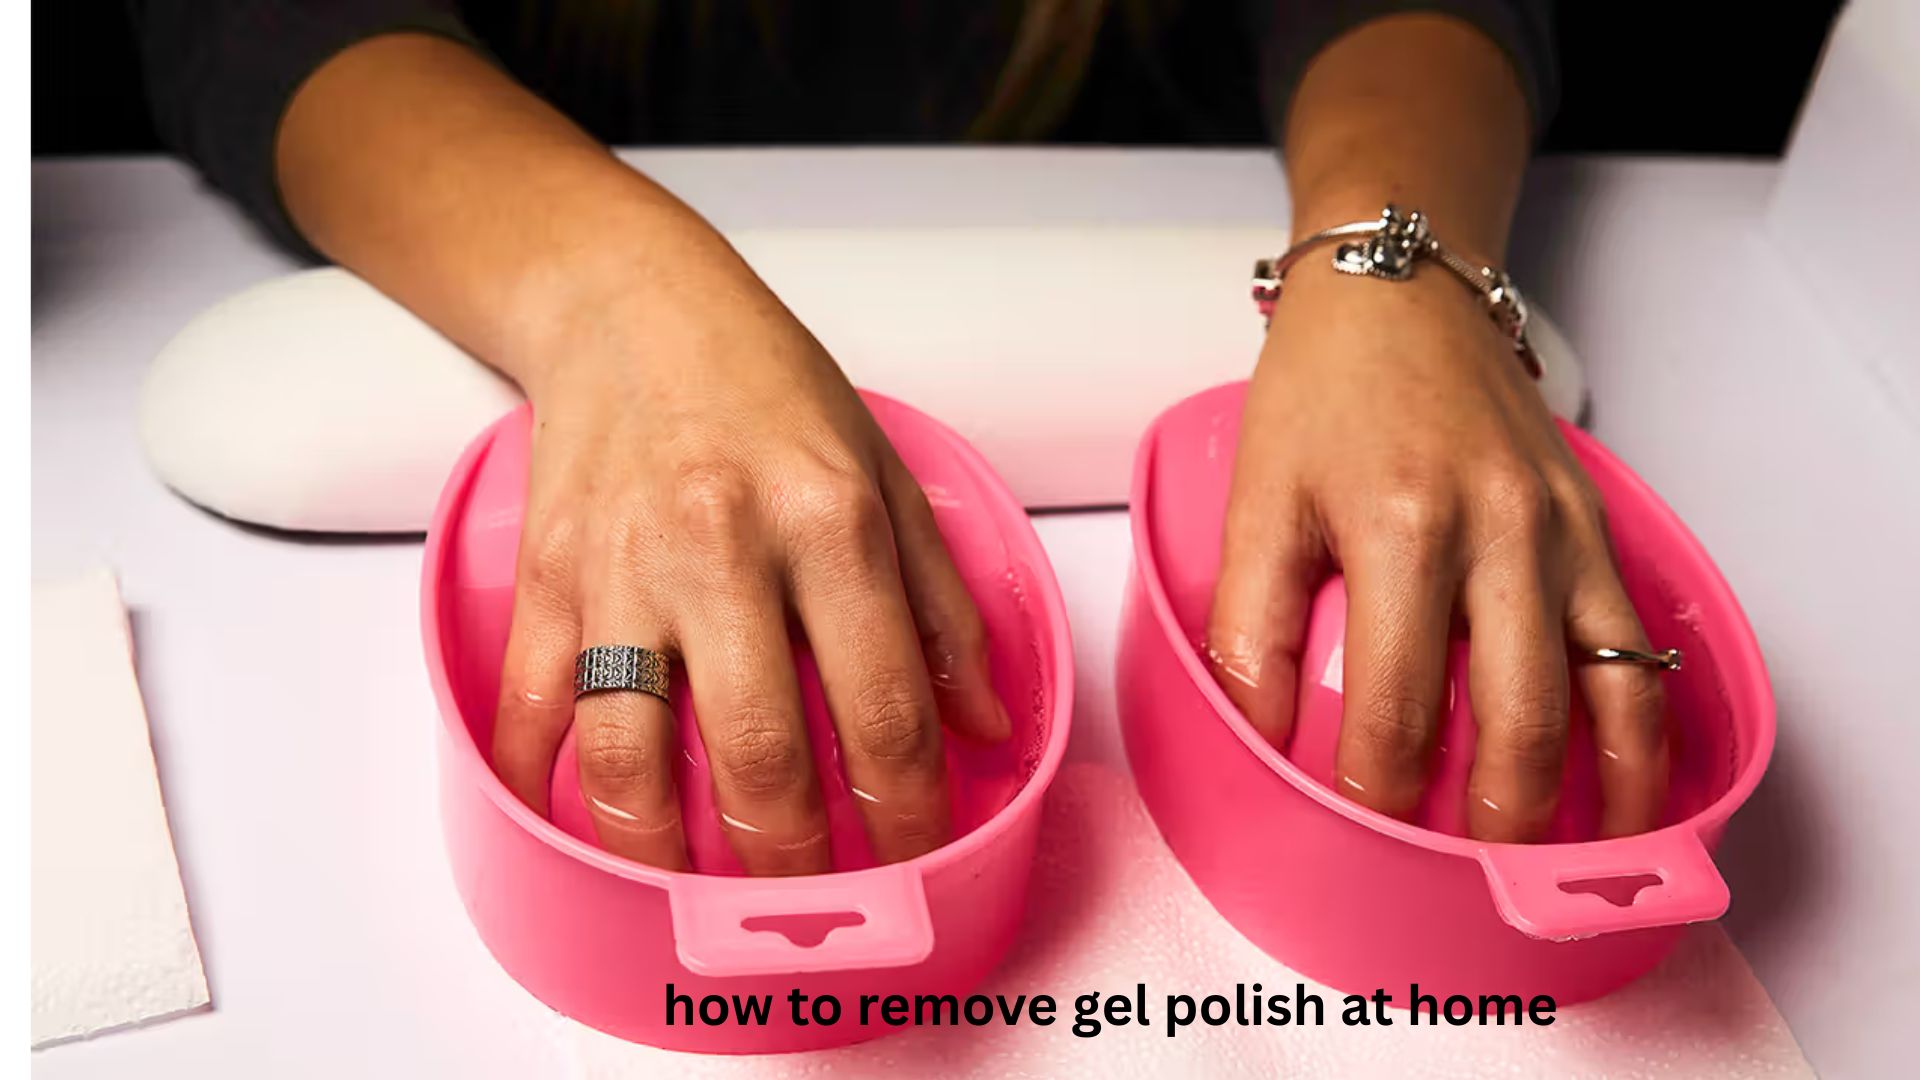
Few things are more frustrating than looking at your gel manicure after a couple of weeks and seeing grown-out nails, chipped edges, or lifting polish—especially when you do not have time for a salon appointment. Many people try to peel off gel polish because it seems like the fastest solution, but this can leave nails thin, weak, and damaged. Learning how to remove gel polish at home correctly can save your natural nails while giving you a salon-like result.
The key is not forcing the gel to come off but allowing the product to soften properly so it releases from the nail surface. Whether you are removing a regular gel manicure, builder gel, or a long-wear gel polish system, the right method makes a major difference. This guide explains the safest removal process, the tools you need, mistakes to avoid, and professional-style tips that help maintain healthy nails after removing gel polish at home.
What You Need Before Removing Gel Polish at Home
Before starting, gather everything you need so you are not tempted to rush the process. Proper preparation is one of the biggest differences between safe removal and nail damage.
Essential supplies:
- 100% pure acetone
- Nail file (preferably 180-grit)
- Nail buffer
- Cotton balls or cotton pads
- Aluminum foil strips
- Wooden cuticle stick
- Nail oil or cuticle oil
- Hand moisturizer
- Small towel
A common mistake is using regular nail polish remover instead of pure acetone. Traditional removers may remove normal polish, but gel polish is designed to resist them.
How to Remove Gel Polish at Home Step by Step
The safest method involves breaking down the gel layer gradually. Avoid pulling, scraping aggressively, or peeling because the gel bonds strongly to the top layers of your natural nail.
Step 1: Trim and File the Gel Surface
Start by shortening your nails if needed and gently filing away the shiny top coat.
The glossy layer acts as a protective barrier and prevents acetone from penetrating quickly. Removing this layer allows the acetone to reach the gel underneath.
How to file correctly:
- Use a nail file with medium grit.
- File lightly across the surface of the gel.
- Stop when the shine disappears.
- Avoid filing into your natural nail.
You do not need to remove all the color. The goal is only to break the seal.
Professional insight: Many people over-file because they think more pressure means faster removal. In reality, controlled filing followed by proper soaking is safer and usually quicker.
Step 2: Protect Your Skin Before Using Acetone
Acetone is effective because it breaks down gel polymers, but it can also dry out your skin and cuticles.
Before soaking:
- Apply petroleum jelly or cuticle oil around your nails.
- Avoid covering the nail plate itself.
- Make sure your hands are clean and dry.
This small step can reduce dryness and irritation, especially if you remove gel polish frequently.
Step 3: Soak Nails With Acetone
The most common at-home technique is the foil wrap method.
Follow these steps:
- Soak a cotton pad in acetone.
- Place it directly on the nail.
- Wrap the fingertip tightly with aluminum foil.
- Repeat on all nails.
- Wait about 10–15 minutes.
Some thicker gel products may require 20 minutes or longer.
The acetone softens the gel, allowing it to lift away without damaging the natural nail underneath.
Step 4: Gently Push Off the Softened Gel
After soaking, remove one foil wrap and check the gel.
If the product looks wrinkled, cracked, or lifted, it is ready to remove.
Use a wooden cuticle stick to gently push the gel away.
Remember:
- Push in the direction of nail growth.
- Use light pressure.
- Never dig underneath the gel.
- Re-soak stubborn areas instead of forcing them.
If the gel does not move easily, it simply needs more time.
Unique practical tip: Removing one nail at a time instead of removing all foils together helps prevent the acetone from drying before you finish.
Step 5: Smooth and Restore Your Natural Nails
After removing the gel, your nails may feel rough or dry. This is normal because acetone removes moisture from the nail area.
Finish by:
- Lightly buffing leftover residue.
- Washing hands with gentle soap.
- Applying cuticle oil.
- Using a rich hand cream.
Give your nails time to recover before applying another gel manicure immediately.
How Long Does It Take to Remove Gel Polish at Home?
The removal time depends on the type and thickness of the gel.
| Gel Type | Average Removal Time |
|---|---|
| Standard gel polish | 10–15 minutes |
| Dark or multiple gel layers | 15–25 minutes |
| Builder gel | 20–40 minutes |
| Hard gel | Often requires professional filing |
Many people become impatient after five minutes and start scraping. This is where most nail damage happens.
The goal is not to fight the gel—it is to soften it enough that it releases naturally.
Can You Remove Gel Polish Without Acetone?
Many people search for ways to remove gel polish without acetone because they dislike the smell or dryness. However, acetone remains the most reliable option for dissolving soak-off gel polish.
Some alternative methods include:
- Filing the gel away carefully
- Using gel removal tools
- Professional removal techniques
However, aggressive filing at home can accidentally remove layers of your natural nail.
If you cannot use acetone, take extra care and remove only thin layers slowly.
Common Mistakes When Removing Gel Polish
Peeling Off Gel Polish
This is the biggest mistake.
When gel polish peels away, it often removes tiny layers of the natural nail surface with it. Over time, this can cause:
- Weak nails
- Splitting
- Rough texture
- Increased sensitivity
Even if peeling feels satisfying, it can create long-term problems.
Using Metal Tools Too Aggressively
Metal scrapers can damage the nail plate if used with force.
A wooden stick is safer because it allows gentle removal without excessive pressure.
Skipping the Filing Step
Trying to soak a completely sealed gel surface takes much longer.
Breaking the top coat helps acetone work efficiently and reduces soaking time.
Applying New Gel Immediately After Removal
Your nails may need a short recovery period.
A better approach:
- Apply nourishing oil.
- Keep nails moisturized.
- Avoid harsh treatments for a few days.
Healthy nails create a better base for future manicures.
How to Remove Different Types of Gel Products
Not all gel products behave the same way.
Gel Polish
This is the easiest type to remove at home. Most soak off with acetone using the foil method.
Builder Gel
Builder gel is thicker and stronger. Some types soften with acetone, while others require careful filing.
Hard Gel
Hard gel usually does not dissolve completely in acetone. It typically needs professional removal through controlled filing.
Understanding what type of product is on your nails prevents unnecessary damage.
Tips for Keeping Nails Healthy After Gel Removal
Removing gel polish is only half the process. Nail care afterward matters just as much.
Use Cuticle Oil Regularly
Cuticle oil helps maintain flexibility and prevents dry, brittle nails.
Look for oils containing ingredients such as:
- Jojoba oil
- Vitamin E
- Almond oil
Avoid Excessive Buffing
A small amount of buffing is fine, but over-buffing makes nails thinner.
Your natural nail does not need to be perfectly smooth after every removal.
Give Your Nails a Break
If you frequently wear gel polish, consider occasional breaks.
A short rest period allows you to:
- Monitor nail health
- Restore moisture
- Prevent over-processing
Real-Life Situations Where Proper Removal Matters
Removing Gel Before a Vacation
Many people remove gel polish before traveling because they cannot visit a salon. Preparing your tools beforehand prevents rushed removal and damaged nails.
Fixing One Broken Nail
If only one nail is damaged, avoid removing the entire manicure unnecessarily. Removing one nail carefully can preserve the rest.
Switching Nail Colors Frequently
People who change gel colors often should focus on gentle removal habits because repeated damage usually comes from poor technique, not gel polish itself.
FAQ
How can I remove gel polish at home without damaging my nails?
The safest method is to file the top layer, soak nails in pure acetone, and gently push off the softened gel. Avoid peeling or scraping because these methods can remove layers of your natural nails. Taking your time is the best protection against damage.
How long should I soak gel nails in acetone?
Most gel polish requires about 10–15 minutes of soaking, but thicker applications may need longer. If the gel does not lift easily, soak again rather than forcing it off. The removal process should never feel painful.
Can I use regular nail polish remover to remove gel polish?
Regular nail polish remover usually does not work well because it contains less acetone or no acetone at all. Gel polish is formulated to resist normal removers. Pure acetone is generally the most effective option for soak-off gel products.
Why are my nails weak after removing gel polish?
Weakness often comes from improper removal, especially peeling or aggressive scraping. Acetone can also temporarily dry the nails and surrounding skin. Moisturizing regularly and avoiding harsh removal techniques can help restore nail condition.
Can I remove gel polish without aluminum foil?
Yes, alternatives include reusable nail clips or soaking fingertips in a small acetone bowl. However, the foil method is popular because it keeps acetone concentrated on each nail and usually requires less product.
Conclusion
Learning how to remove gel polish at home safely is mostly about patience and technique. The biggest difference between healthy nails and damaged nails is avoiding shortcuts like peeling, forceful scraping, and excessive filing.
By preparing your tools, allowing acetone enough time to work, and caring for your nails afterward, you can remove gel polish effectively without a salon visit. Treat your nails gently during removal, and your next manicure will look better because the foundation underneath remains healthy.