
Imagine getting a new router, changing your Wi-Fi password, or moving to a new house, only to find that your Google Home suddenly says it cannot connect to the internet. Your phone works perfectly, but the smart speaker that used to answer every question is now offline.
If you are wondering how to change Wi-Fi on Google Home, the good news is that you usually do not need to replace the device. You simply need to update its network connection through the Google Home app. For Google Home and Nest speakers and displays, Google’s current process involves forgetting the old Wi-Fi network and then setting the device up again on the new network.
The exact experience can vary depending on whether you have a Google Home, Google Nest Mini, Nest Audio, Nest Hub, or another compatible device. This guide explains the process step by step, what to do when the device is offline, when a factory reset is actually necessary, and a few useful shortcuts that can save considerable time.
Why You May Need to Change Google Home Wi-Fi
There are several common reasons a Google Home device needs new Wi-Fi information.
The most obvious is replacing your router. A new router often comes with a different network name, password, or both. Your Google Home still remembers the old network, so it cannot automatically connect to the new one.
Other situations include:
- You changed your Wi-Fi password.
- You renamed your Wi-Fi network.
- You switched internet providers.
- You moved the Google Home to another house.
- Your old router stopped working.
- You created a new Wi-Fi network.
- Your Google Home is showing as offline.
- You separated your 2.4 GHz and 5 GHz networks.
- You changed important router settings.
Google confirms that changing Wi-Fi credentials or replacing a router can require your Google Nest or Home device to be connected to the new network again.
One important point: changing the Wi-Fi network of your Google Home is different from changing the Wi-Fi password on a Google Nest Wifi or Google Wifi system. The latter changes the network itself, while the former reconnects a smart speaker or display to an existing network.
How to Change Wi-Fi on Google Home
For most Google Home and Nest speakers or displays, the process is straightforward.
Step 1: Connect Your Phone to the New Wi-Fi
Before changing the Google Home connection, connect your phone or tablet to the Wi-Fi network you want the speaker to use.
This is an easy step to overlook.
If your phone is still connected to the old network while you are trying to configure the speaker for the new one, setup can fail or the device may not appear as expected. Google specifically recommends that the mobile device used during setup be connected to the same Wi-Fi network you want the speaker or display to use.
Step 2: Open the Google Home App
Open the Google Home app on your Android phone, iPhone, or tablet.
Make sure you are signed in with the Google Account associated with the Google Home device.
If you have several homes configured in the app, select the correct home before continuing.
Step 3: Find Your Google Home Device
From the Google Home app, locate the speaker or display you want to reconnect.
Touch and hold the device tile.
Then select:
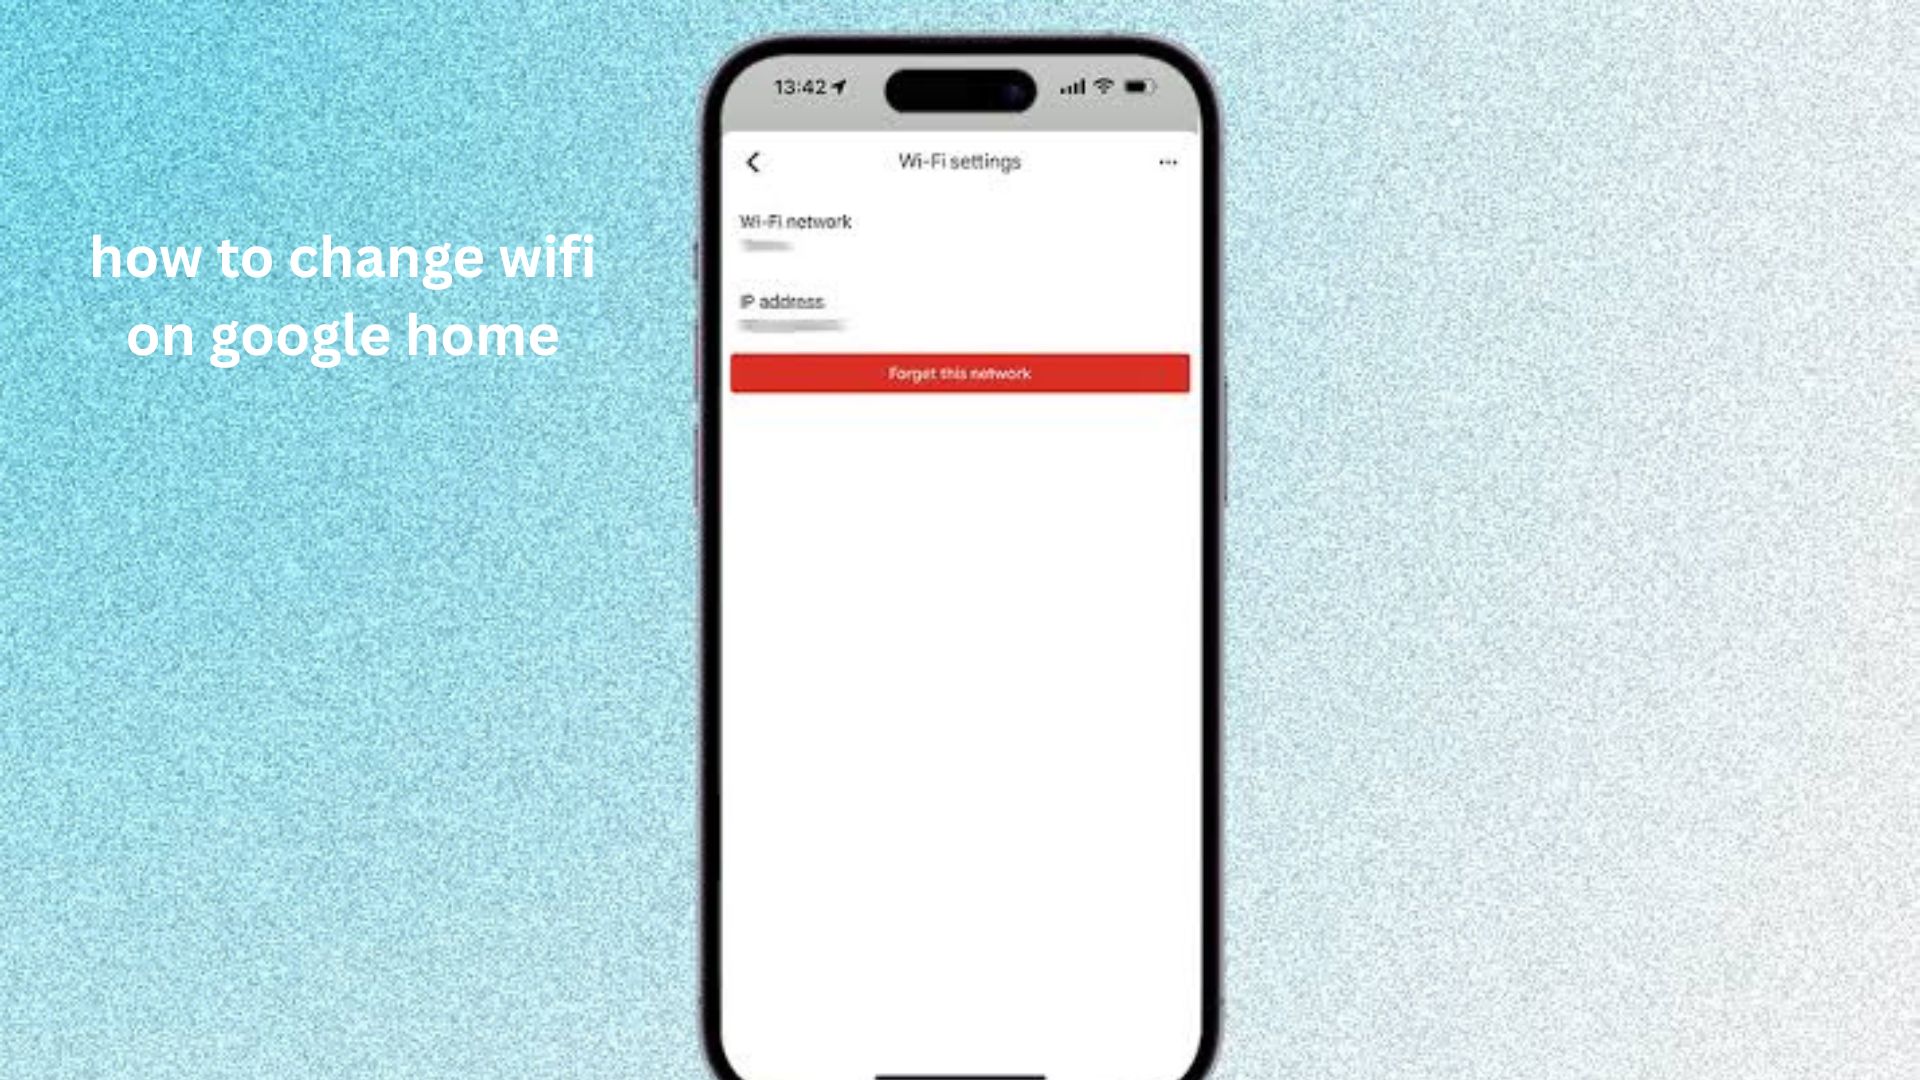
Settings → Device information → Wi-Fi
Google’s current instructions use this area to manage the network connection for compatible Home and Nest speakers and displays.
Step 4: Forget the Old Wi-Fi Network
Tap Forget this network.
This removes the device’s connection information for the old Wi-Fi network.
Do not worry if the speaker temporarily appears unavailable. That is expected because you have just removed its previous network connection.
Step 5: Add the Device Again
Return to the main Google Home screen.
Select:
Home → Add → Device → Search for device
Then follow the instructions shown in the app.
The Google Home app will guide you through connecting the speaker or display to the new Wi-Fi network.
Step 6: Test the Connection
Once setup finishes, give your Google Home a simple command such as:
“Hey Google, what time is it?”
You can also try playing music or controlling another smart-home device.
If the command works normally, the Wi-Fi change was successful.
What If “Forget This Network” Does Not Work?
This is one of the most frustrating parts of changing Wi-Fi on Google Home.
Sometimes the device is too disconnected from the network for the app to communicate with it properly. Google notes that a factory reset may be necessary if you cannot change the network settings or receive an error such as “could not communicate with your device.”
Before resetting anything, try these steps:
- Make sure your phone is connected to the new Wi-Fi.
- Move your phone closer to the Google Home device.
- Move closer to your Wi-Fi router if necessary.
- Close and reopen the Google Home app.
- Unplug the speaker for about 10 seconds.
- Plug it back in and wait for it to restart.
- Try the setup process again.
Google also recommends restarting a speaker or display by unplugging it, waiting about 10 seconds, and plugging it back in when setup problems occur.
When Should You Factory Reset Google Home?
A factory reset should normally be your last resort, not your first step.
A reset erases the device’s existing configuration and returns it to its factory state. You then set it up again as though it were a new device.
Consider resetting the device when:
- The Google Home app cannot communicate with it.
- The old network cannot be forgotten.
- Setup repeatedly fails.
- The device cannot be added to another Wi-Fi network.
- The app continues showing the device as unavailable after basic troubleshooting.
Google specifically lists these situations among the circumstances where resetting and setting up the device again may be required.
The practical lesson is simple: do not reset a Google Home just because you changed your router. Try the normal Wi-Fi update first.
A Useful Shortcut When Replacing Your Router
There is a particularly useful trick if you are replacing an old router but want your smart-home devices to continue working without reconnecting each one individually.
Set your new router’s:
- Wi-Fi network name, or SSID
- Wi-Fi password
to exactly match the old router.
Google notes that reusing the old network name and password can allow previously connected devices to reconnect without being individually configured again in many situations.
For example, suppose your old network was:
Network: HomeWiFi
Password: ExamplePassword123
If your new router uses exactly the same credentials, your Google Home may reconnect automatically.
This can be particularly helpful when you have numerous smart bulbs, plugs, cameras, TVs, speakers, thermostats, and other connected devices.
However, there is an important catch: make sure the old router is no longer broadcasting the same network at the same time. Google warns that having both routers active with the same network information can create confusing connectivity behavior.
Google Home Is Offline but You Cannot Change Its Wi-Fi
This situation is common after a router replacement.
The Google Home app may still display the device, but its status could say Offline.
First, check which Wi-Fi your phone is using. Then check the network information associated with the Google Home device in the app.
Google recommends verifying that the mobile device and Google device are using the appropriate network during setup.
If your phone is connected to the new network but the speaker is still trying to use the old one, use the Forget this network process.
If the app cannot communicate with the speaker at all, restart the device and try again. If that still fails, a factory reset may be required.
What If Your Google Home Cannot Find the New Wi-Fi?
If the new network does not appear during setup, do not immediately assume that the speaker is broken.
Start by checking the basics.
Stay close to the router
During setup, keep the phone reasonably close to the Google Home and router. Google recommends keeping the setup device within roughly 5 to 20 feet of the speaker or display during setup, with a strong connection preferred.
Check the Wi-Fi password
A single incorrect character can prevent the setup from completing.
Pay special attention to:
- Capital letters
- Numbers
- Symbols
- Similar-looking characters
- Accidental spaces
Check your phone’s connection
Make sure your phone is actually connected to the intended network rather than mobile data, a guest network, or another saved Wi-Fi network.
Restart the router
If other devices are also having difficulty finding or joining the network, the problem may be with the router rather than Google Home.
2.4 GHz vs. 5 GHz: Does It Matter?
Modern routers often provide both 2.4 GHz and 5 GHz Wi-Fi.
In many normal setups, this does not require complicated configuration. However, compatibility and router configuration can affect setup.
If the network you expect to see does not appear, check whether your phone can connect to that network. Google also notes that a mobile device needs 5 GHz support if you are attempting to configure a speaker or display on a 5 GHz connection.
A useful practical approach is to avoid changing several router settings at once. If you have just installed a new router, first get the basic Wi-Fi connection working before experimenting with bands, guest networks, advanced security settings, or other configurations.
What About Google Nest Wifi or Google Wifi?
If by “Google Home Wi-Fi” you actually mean a Google Nest Wifi or Google Wifi network, the process is different.
The Google Home app now handles Google Wifi network management. Google states that the older Google Wifi app is no longer used for making changes to the Wi-Fi network and that users should use the Google Home app for network management.
For example, changing the Wi-Fi network name involves opening the Google Home app and going into the Wi-Fi and network settings area. Google also provides a separate process for changing the Wi-Fi password.
This distinction matters because many people search for “change Wi-Fi on Google Home” when they actually want to change the router’s Wi-Fi credentials, not reconnect a Google Home speaker.
Common Mistakes to Avoid
Changing Wi-Fi should normally take only a few minutes, but certain mistakes can make it much harder.
Resetting too early
A factory reset is powerful, but unnecessary in many cases. Try forgetting the old network and setting up the device again first.
Using the wrong Google Account
If you cannot find the device in the Google Home app, make sure you are signed into the Google Account associated with that Home.
Connecting your phone to the wrong network
Your phone should be connected to the network you want the Google Home to use during setup.
Changing router settings unnecessarily
If the new Wi-Fi works on your phone and laptop, avoid changing advanced router settings just because Google Home is offline.
Assuming every Google device uses the same process
Speakers, displays, cameras, doorbells, thermostats, and streaming devices can have different Wi-Fi recovery procedures. Google provides device-specific instructions because the process is not identical across the product range.
Three Practical Insights That Can Save You Time
1. Change the router credentials strategically
If you are replacing a router and have a large smart home, keeping the old SSID and password can be much easier than manually reconnecting every device.
This is one of the simplest ways to reduce the amount of smart-home maintenance after a router upgrade.
2. Diagnose the phone before diagnosing the speaker
If your phone cannot reliably connect to the new Wi-Fi, there is little point troubleshooting Google Home first.
Get the phone connected, verify internet access, and then configure the speaker.
3. Separate “device problem” from “network problem”
If every other device works but one Google Home does not, focus on that device’s saved Wi-Fi information.
If multiple devices suddenly stop connecting, investigate the router, password, internet service, or network configuration instead.
This distinction can prevent a lot of unnecessary factory resets.
FAQ
How do I change Wi-Fi on Google Home after changing my router?
Open the Google Home app and select your Google Home or Nest speaker. Go to Settings → Device information → Wi-Fi, choose Forget this network, and then return to the Home screen to add and set up the device again. Make sure your phone is already connected to the new Wi-Fi before starting.
Can I change Google Home Wi-Fi without resetting it?
Yes, in many cases you can reconnect it without performing a factory reset. The normal process is to forget the old Wi-Fi network in the Google Home app and then complete setup on the new network. A factory reset is generally needed only when the normal process fails or the app cannot communicate with the device.
Why won’t my Google Home connect to my new Wi-Fi?
The most common causes are an incorrect password, the phone being connected to a different network, weak Wi-Fi during setup, or the Google Home still remembering its previous network. Restarting the speaker, checking the phone’s Wi-Fi connection, and retrying setup can often resolve the issue. If the device still cannot communicate with the app, a reset may be necessary.
Can I use the same Wi-Fi name and password on a new router?
Yes. Reusing the previous Wi-Fi name and password can allow previously connected devices to reconnect without being individually configured. This can be especially useful when replacing a router in a home with many smart devices. However, make sure the old router is no longer broadcasting the same network at the same time.
What should I do if Google Home says it is offline?
First, make sure your phone is connected to the new Wi-Fi and that the internet connection works. Restart the Google Home by unplugging it for about 10 seconds, then try the Wi-Fi setup process again. If the app cannot communicate with the device or cannot change its network settings, Google recommends resetting the device and setting it up again.
Do I need to reconnect every Google Home device separately?
If you changed the actual Wi-Fi credentials, devices that rely on those credentials may need their network information updated. However, using the same network name and password as your previous router can reduce the amount of manual reconnection required. Different Google and Nest products also have different procedures, so cameras, doorbells, thermostats, and speakers should not automatically be assumed to work the same way.
Final Thoughts
Learning how to change Wi-Fi on Google Home is much easier once you understand what is actually happening. Your Google Home is not broken simply because you installed a new router or changed your password; it is usually still trying to use the old network credentials.
For a Google Home or Nest speaker, start by connecting your phone to the new Wi-Fi, open the Google Home app, forget the old network from the device’s Wi-Fi settings, and complete setup again. Avoid a factory reset unless the normal process fails.
If you are replacing an entire router, consider keeping the same Wi-Fi name and password when practical. That small decision can save considerable time when you have a house full of connected devices.
Most importantly, troubleshoot in the right order: phone connection first, network second, Google Home third, factory reset last. That approach is faster, safer, and usually gets your voice assistant back online without unnecessary configuration.