
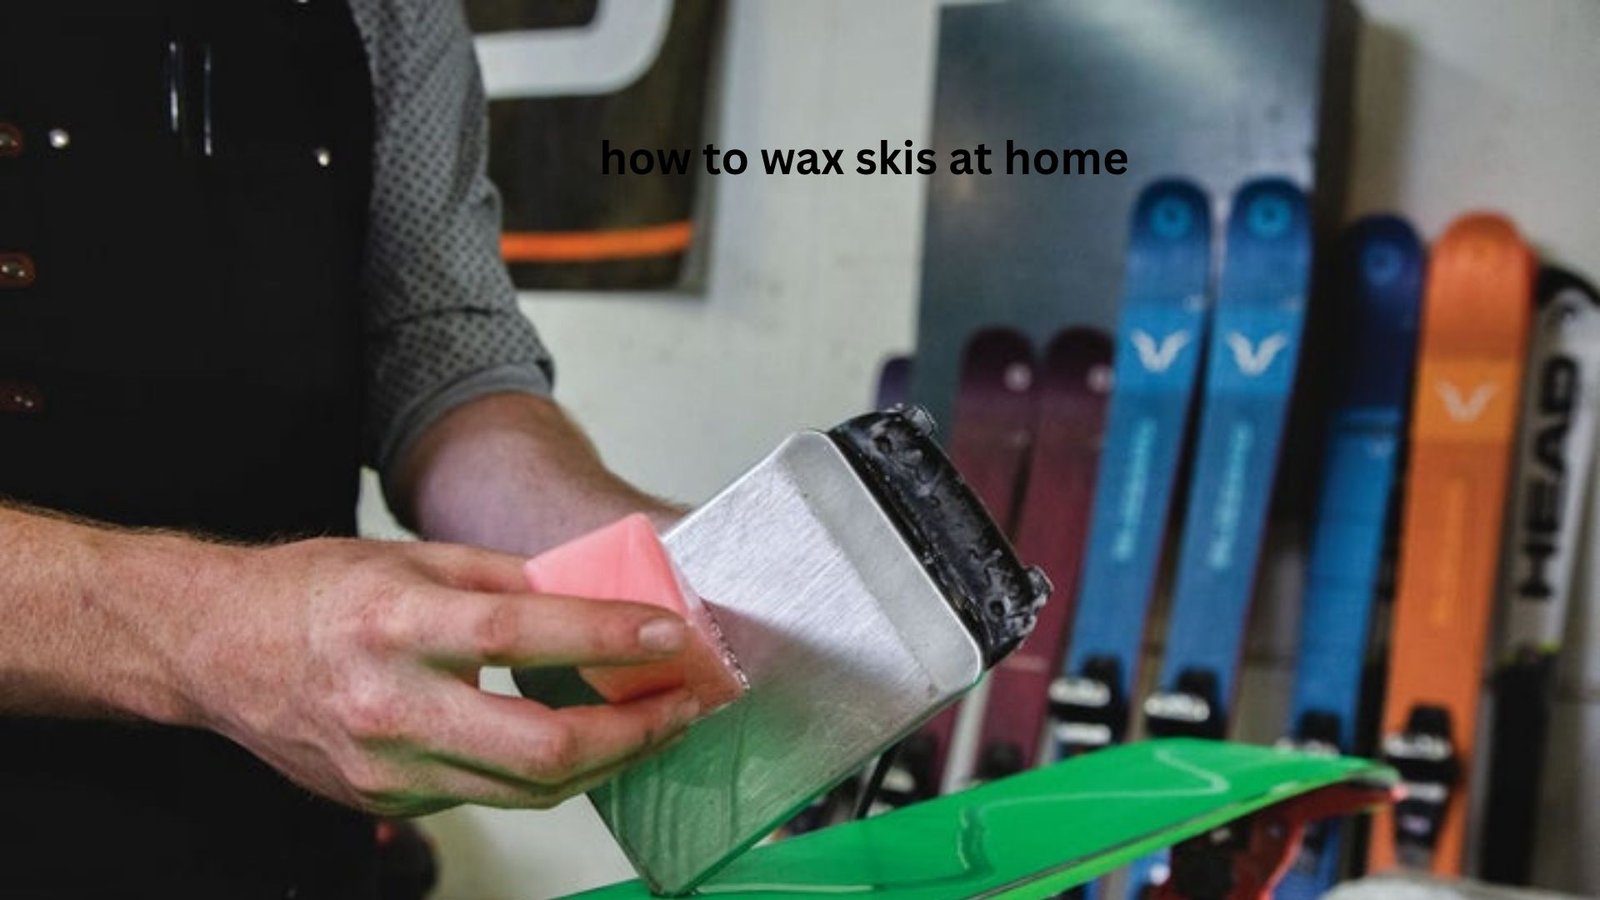
If your skis feel slow, sticky, or strangely difficult to turn, the problem may not be your technique—it may simply be the bases. Learning how to wax skis at home can make a noticeable difference in glide, especially when snow conditions change quickly or you have been skiing on the same wax for several days.
The good news is that ski waxing is much easier than it first appears. You do not need a professional workshop or expensive equipment. With an adjustable waxing iron, suitable ski wax, a scraper, and a few basic tools, you can maintain your skis in roughly 20–30 minutes once you have some practice.
The important part is technique. Too much heat can damage a ski base, while scraping too aggressively can remove more wax than necessary. Choosing wax based on temperature also matters, but preparation and finishing are just as important.
This guide explains the complete process, from cleaning and selecting wax to ironing, scraping, brushing, and storing your skis. It also covers common mistakes and a few practical tricks that make home waxing cleaner and more consistent.
What You Need to Wax Skis at Home
You can keep your setup fairly simple. A basic home waxing kit should include:
- Ski waxing iron — preferably one designed specifically for ski or snowboard wax
- Ski wax — matched reasonably closely to the snow temperature
- Plastic scraper — sharp and clean
- Base brush — nylon is a good general-purpose choice
- Fiber wipes or clean cloths
- Ski vise or stable work supports
- Rubber bands or ski brakes retainers to keep brakes out of the way
- Drip tray, cardboard, or newspaper to catch wax shavings
A waxing-specific iron is worth buying if you plan to wax regularly. Household irons can work in an emergency, but their temperature control is usually less predictable, and their larger heating surface makes it harder to control the amount of heat going into the ski.
Do You Need Expensive Wax?
Not necessarily.
For recreational skiing, a good universal or temperature-range wax is often more useful than owning a large collection of specialized waxes. If you ski frequently and encounter very different temperatures, you can gradually add colder and warmer-temperature waxes.
The goal is not to use the most expensive wax. The goal is to use the right wax for the conditions and apply it correctly.
How Often Should You Wax Skis?
There is no single number of ski days that works for everyone.
As a practical starting point, wax your skis when:
- The bases look dry or grayish.
- The skis noticeably lose glide.
- You feel more resistance on flatter sections.
- The snow conditions have changed substantially.
- You have skied on abrasive, artificial, or very hard snow.
- You are preparing skis for storage.
Frequent skiers may wax every few days, while occasional skiers might go several outings between applications.
One useful observation from maintaining skis is that snow type can matter as much as the number of days. A few days on abrasive artificial snow can wear a base faster than several days on soft natural snow.
Step 1: Secure and Prepare the Skis
Place the skis base-up on a stable workbench or ski vise.
Secure the ski brakes so they do not interfere with the base. Make sure the skis cannot move while you are working.
Before heating anything, inspect the bases.
Look for:
- Deep scratches
- Dirt embedded in the base
- Areas that look unusually dry
- Damage around the edges
- Excess wax from an earlier application
If the base is heavily damaged, waxing will not repair the underlying problem. Minor scratches are normal and can generally be managed during routine maintenance, but major damage may require professional base repair.
Step 2: Clean the Ski Bases
For routine waxing, you usually do not need an aggressive chemical cleaner.
Start by brushing the base lightly to remove loose dirt and old wax. Then wipe it with a clean, lint-free cloth.
If the base is particularly dirty, a dedicated base cleaner can be useful. Allow the ski to dry completely before applying fresh wax.
A Simple Rule for Cleaning
Do not chase the idea that a ski base must look absolutely stripped and chemically spotless before every wax.
For normal maintenance, clean, dry, and free of loose contamination is usually enough. Excessive cleaning can be unnecessary and can turn a simple waxing session into a much longer process.
Step 3: Choose the Right Ski Wax
Ski wax is generally selected according to snow and air temperature.
As a broad guide:
| Conditions | Typical wax choice |
|---|---|
| Very cold snow | Harder, cold-temperature wax |
| Moderate winter conditions | All-temperature or mid-range wax |
| Warmer, wet snow | Softer, warm-temperature wax |
Always follow the manufacturer’s temperature range because wax formulations differ.
Snow Temperature vs. Air Temperature
One of the easiest mistakes is looking only at the weather app.
The temperature of the snow surface can differ from the air temperature, particularly in sunny, shaded, windy, or changing conditions.
For casual skiing, an appropriate temperature-range wax is usually forgiving enough. For racing or very precise tuning, snow temperature, humidity, snow age, and crystal structure become much more important.
Step 4: Melt the Wax Onto the Base
Set your waxing iron to the temperature recommended by the wax manufacturer.
Hold the wax against the bottom of the warm iron and let small drops fall onto the ski base.
You do not need to cover the entire ski with a thick layer of wax.
A common beginner mistake is thinking that more wax means better protection. It does not. You only need enough wax to create a thin, even layer that can be distributed across the base.
Try to place droplets along the length of the ski rather than concentrating a large amount in one spot.
Step 5: Iron the Wax Smoothly
This is the step where temperature control matters most.
Place the iron onto the wax and move it continuously along the ski.
Do not leave the iron stationary.
A good working pattern is to move from tip toward tail in a controlled pass, keeping the iron moving at a steady pace. You want the wax to become liquid and spread evenly without overheating the base.
How Do You Know If the Iron Is Too Hot?
If the wax smokes, the iron is too hot.
Stop and reduce the temperature.
Wax should melt smoothly rather than producing smoke. Excessive heat can damage the ski base, so there is no benefit in working hotter than necessary.
Another practical rule: if you are unsure, use less heat and slower, controlled passes rather than maximum heat.
Step 6: Let the Wax Cool
After ironing, leave the skis alone until the wax has completely cooled and hardened.
This typically takes around 20–30 minutes, although room temperature and the amount of wax applied affect the timing.
Do not immediately scrape warm wax.
Waiting allows the wax to solidify properly and gives you a cleaner, more controlled scraping process.
An Often-Missed Detail
Avoid putting freshly waxed skis somewhere extremely cold immediately after ironing.
A sudden temperature change can make the cooling process less consistent. For ordinary home waxing, simply allowing the ski to cool naturally at room temperature is the easiest approach.
Step 7: Scrape Off the Excess Wax
Once the wax is completely cool, use a sharp plastic scraper.
Hold it firmly and scrape from tip toward tail using overlapping passes.
The objective is not to leave a thick layer of wax on the base. Ski bases work best when their structure remains open and clean.
Pay particular attention to the edges. Excess wax around the edges can affect how the ski engages with the snow.
How Much Wax Should Remain?
Less than most beginners expect.
After scraping, the base should feel smooth rather than covered in a visibly thick coating. You are filling the microscopic structure of the base with wax—not building a layer of wax on top of it.
If scraping produces large ribbons of wax repeatedly, you probably applied more wax than necessary.
Step 8: Brush the Base
After scraping, brush the base from tip to tail.
A nylon brush is a good general-purpose option for home maintenance.
Brushing:
- Removes wax from the base structure
- Cleans remaining residue
- Helps restore the structure
- Produces a more consistent glide surface
Use controlled strokes rather than attacking the base aggressively.
For most recreational skiers, a clean scrape followed by thorough brushing is more important than owning a huge collection of specialized brushes.
Step 9: Finish With a Clean Wipe
Give the ski a final wipe with a clean cloth or fiber wipe.
Inspect the base and edges.
You are looking for:
- No obvious blobs of wax
- No dirty residue
- No heavy wax buildup along the edges
- A consistently finished base
Your skis are now ready to use.
How Long Does It Take to Wax Skis at Home?
For a beginner, expect roughly 30–45 minutes for a careful first attempt.
Once you become comfortable with the process, routine waxing can take around 20–30 minutes for a pair of skis, excluding major repairs.
The actual ironing takes only a few minutes. Most of the time is spent waiting for the wax to cool and then scraping and brushing.
That distinction matters because rushing the cooling stage is one of the easiest ways to make a clean waxing job unnecessarily messy.
Common Ski-Waxing Mistakes to Avoid
1. Holding the Iron in One Place
This is the biggest heat-related mistake.
Even a short pause can concentrate heat in one area. Keep the iron moving.
2. Overheating the Wax
Smoke is a warning sign.
If your wax is smoking, lower the temperature. More heat does not make the wax work better.
3. Applying Too Much Wax
More wax means more scraping, not necessarily better performance.
Apply enough to distribute an even layer across the base.
4. Scraping Before the Wax Cools
Warm wax is soft and difficult to remove cleanly.
Give it time to harden completely.
5. Using a Dull Scraper
A dull scraper tends to make you push harder.
Keep the scraper edge sharp and smooth. A properly sharpened plastic scraper makes the finishing process much easier.
6. Forgetting the Edges
Wax left on the edges can interfere with their contact with the snow.
Scrape carefully around them and make sure they are clean before skiing.
7. Ignoring the Ski Base
Wax cannot compensate for serious base damage.
If you have deep gouges, damaged edges, or a badly uneven base, professional servicing may be the better choice.
Universal Wax vs. Temperature-Specific Wax
For most recreational skiers, the choice is straightforward.
Universal wax is convenient and forgiving. It is ideal if you ski occasionally and don’t want to maintain several types of wax.
Temperature-specific wax can provide better performance when conditions are predictable. It becomes more useful for frequent skiers, racers, and people who pay close attention to snow conditions.
A sensible progression is to start with one quality all-temperature wax. Add specialized waxes only after you have enough experience to notice the difference.
Three Practical Insights That Make Home Waxing Better
The Amount of Wax Is Less Important Than the Finishing
Beginners often focus heavily on melting wax onto the ski.
In practice, the final scraping and brushing have a huge effect on how the ski performs. A beautifully applied thick layer is not a finished job.
Think of waxing as a process of apply → cool → remove excess → open the structure.
Artificial Snow Deserves Extra Attention
Artificial snow can be harder and more abrasive than many recreational skiers realize.
If you frequently ski on machine-made snow, inspect your bases more often. You may find that the skis need waxing sooner than your normal schedule suggests.
Waxing Is Also Base Care
It is tempting to think of wax only as a speed-enhancing product.
It also helps maintain the condition of the ski base by keeping it conditioned and reducing the dry, worn appearance that can develop with repeated use.
So even when you are not chasing maximum speed, regular waxing is worthwhile maintenance.
What If Your Skis Still Feel Slow?
If freshly waxed skis still feel unusually slow, don’t immediately add another layer of wax.
Check these possibilities:
- The wax may not match the conditions.
- Too much wax may remain on the base.
- The base may need brushing.
- The base structure may be inappropriate for the snow.
- The ski may have base or edge damage.
- Snow conditions themselves may simply be slow.
This is an important troubleshooting point: waxing is only one part of ski performance.
A ski can be perfectly waxed and still feel slow on sticky, wet, dirty, or unusually abrasive snow.
FAQ
Can I wax skis without a waxing iron?
Yes, but a dedicated waxing iron is the safer and more consistent option. Household irons can have temperature fluctuations and may not distribute heat as predictably. If you ski regularly, a proper waxing iron is a worthwhile investment.
How often should I wax my skis at home?
A practical starting point is every few ski days, but the exact interval depends on snow conditions and how often you ski. Artificial and abrasive snow can wear wax faster. If your skis begin feeling noticeably slow or the bases look dry, it is probably time for another application.
How long should ski wax cool before scraping?
Allow the wax to cool and harden completely, usually around 20–30 minutes at room temperature. Scraping while the wax is still warm makes it harder to remove evenly. Waiting a little longer is better than scraping too soon.
Can you wax skis with a normal clothes iron?
It is possible, but it is not ideal. A ski-specific iron gives you better control over temperature and is designed for this job. If using another iron, overheating is the main risk, so extreme care is necessary.
Do you scrape all the wax off skis?
You scrape off the excess wax rather than removing the wax that has penetrated the base structure. After scraping, brushing removes additional residue and opens the base structure. Leaving a visibly thick layer on the surface generally does not improve glide.
What ski wax should beginners use?
A good universal or all-temperature ski wax is usually the easiest starting point. It covers a useful range of conditions without requiring you to understand several specialized formulations. Once you gain experience, you can experiment with temperature-specific waxes.
Conclusion
Learning how to wax skis at home is mostly about controlling heat, using the right amount of wax, allowing sufficient cooling time, and finishing the base properly.
The basic process is simple:
- Secure and inspect the skis.
- Clean the bases.
- Choose suitable wax.
- Melt a modest amount onto the base.
- Iron continuously without overheating.
- Let the wax cool completely.
- Scrape away the excess.
- Brush the base thoroughly.
- Check the edges and finish.
You don’t need a professional workshop to maintain your skis well. Start with a simple setup, take your time, and pay attention to how the skis behave on snow. After a few waxing sessions, the process becomes routine—and you’ll have a much better feel for when your skis actually need attention.