
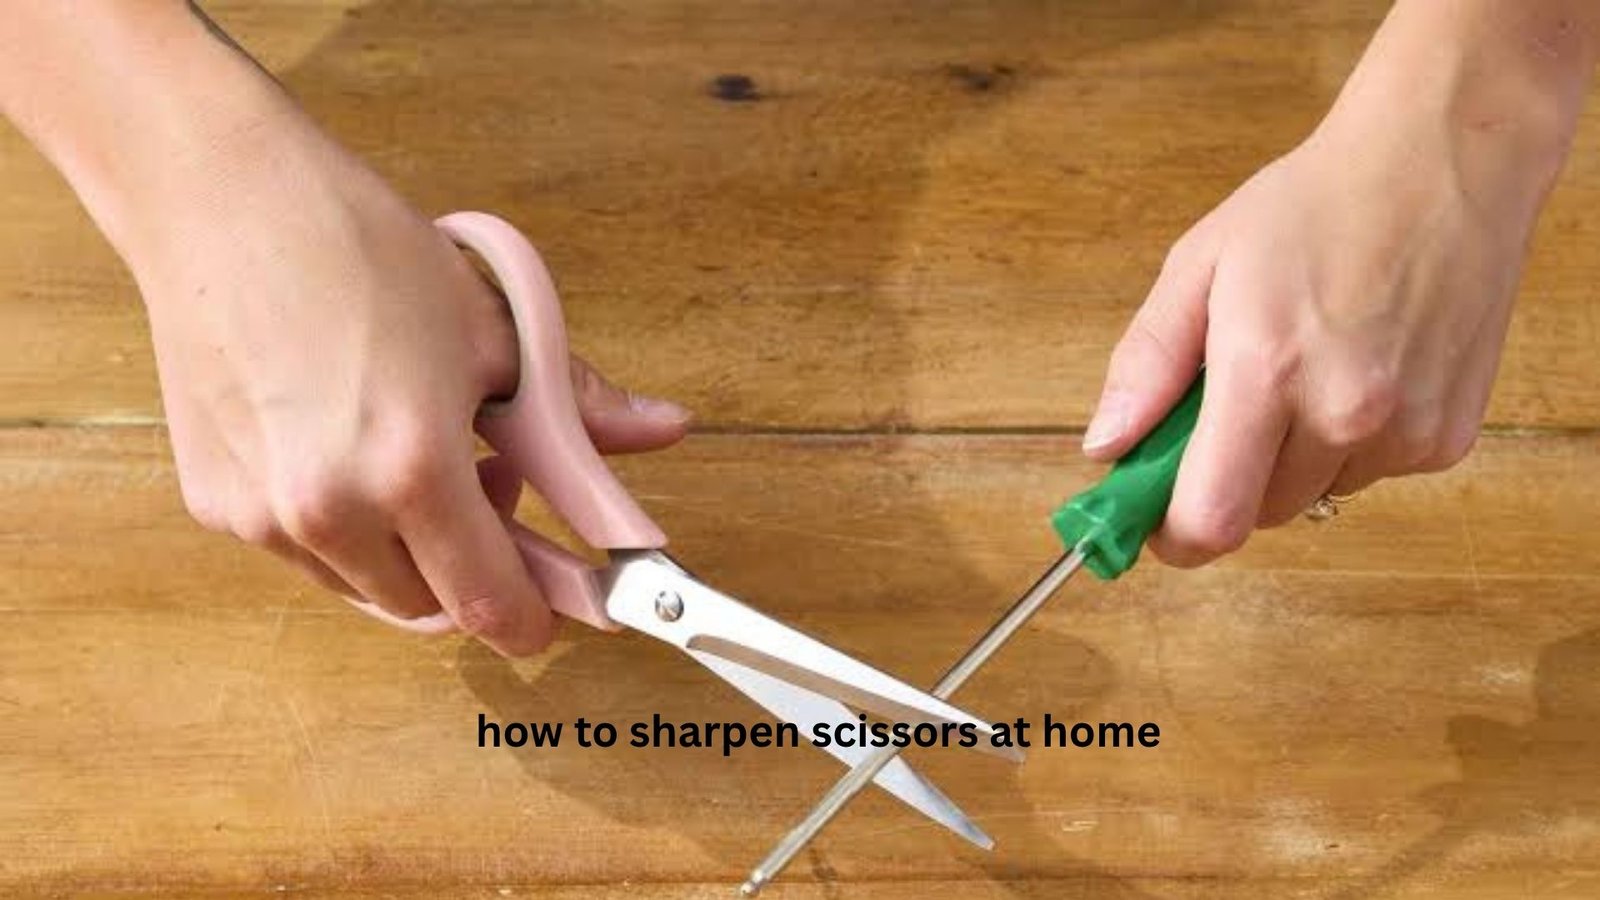
A pair of scissors can go from perfectly useful to frustratingly dull without much warning. You squeeze harder, the blades start chewing through paper instead of cutting it cleanly, and fabric may fold or snag rather than slicing through. If that sounds familiar, you do not necessarily need to replace the scissors. In many cases, you can sharpen scissors at home with a few simple tools and a little patience.
The important part is understanding what you are trying to restore. Scissors do not usually need a razor-sharp edge like a kitchen knife. Their two blades need to meet correctly along their cutting surfaces. A poor sharpening technique can make the blades sharper in isolation but actually make the scissors cut worse.
This guide explains several reliable methods, from using a sharpening stone to quick household techniques. You will learn how to tell whether sharpening is the real problem, how to choose the right method, how to sharpen each blade safely, and how to avoid common mistakes that permanently damage scissors.
First, Check Whether Your Scissors Actually Need Sharpening
Before reaching for a sharpening tool, test the scissors.
Take a normal sheet of paper and make several cuts from the heel of the blades toward the tips. Pay attention to where the scissors struggle.
Dull scissors typically:
- Crush or fold paper instead of slicing it.
- Require noticeably more hand pressure.
- Struggle particularly near the tips.
- Leave an uneven or ragged cut.
- Pull or snag fabric rather than cutting smoothly.
However, there is another possibility: the blades may be misaligned or the pivot may be loose.
This distinction matters.
If the scissors cut well near the hinge but fail badly near the tips, sharpening may help. If the blades appear to separate from each other as you cut, tightening the pivot screw may make a bigger difference than sharpening.
A useful test is to close the scissors slowly while looking at the blades from the side. They should pass each other closely without visibly bending apart.
Clean the blades before sharpening
Sticky residue, tape adhesive, rust, dried glue, or accumulated fibers can make sharp scissors behave like dull ones.
Wipe the blades with a suitable cleaner and dry them thoroughly. For household scissors, even a careful cleaning can noticeably improve performance.
Do not sharpen over dirt or adhesive. It can clog an abrasive and make it harder to maintain consistent contact with the blade.
The Best Way to Sharpen Scissors: Use a Sharpening Stone
If you want the most controlled and repeatable method, a sharpening stone is generally the best choice.
A whetstone, diamond stone, or suitable sharpening stone allows you to remove a small amount of metal from the actual cutting bevel instead of relying on a rough household trick.
What you need
You will need:
- A sharpening stone
- A clean cloth
- Water or honing fluid, depending on the stone
- A small screwdriver if the scissors can be separated
If your scissors have a removable pivot screw, separating the blades makes sharpening easier because you can see and control the cutting surface.
Step 1: Separate the blades if possible
Open the scissors and remove the pivot screw if the design allows it.
This is especially useful for larger scissors because you can hold each blade securely and sharpen it without the other blade getting in the way.
If the pivot is riveted or cannot be removed, you can still sharpen the scissors, but use extra care.
Step 2: Identify the cutting bevel
Look closely at one blade.
One side is usually relatively flat, while the other has a sloped surface leading to the cutting edge. That sloped surface is the bevel.
The key rule is simple:
Sharpen the existing bevel rather than inventing a new angle.
You do not need to guess an angle with a protractor. Place the bevel against the stone and try to reproduce the angle that is already there.
Step 3: Make controlled strokes
Hold the blade firmly and move the bevel across the stone from the wider portion toward the tip.
Use light, controlled pressure.
Do not aggressively grind the blade. Scissors often need only a small amount of metal removed to restore their cutting action.
After several strokes, inspect the edge. You are looking for consistent contact along the bevel rather than a dramatically altered shape.
Step 4: Repeat on the second blade
Sharpen the second blade in the same manner.
Try to keep your pressure and number of strokes reasonably consistent. The objective is not to remove exactly the same number of microns from each blade; it is to restore both cutting edges while preserving their original geometry.
Step 5: Remove the burr
Sharpening can leave a tiny burr along the edge.
A few very light finishing strokes can remove it. Avoid repeatedly grinding the flat side of the blade because excessive sharpening there can alter how the two blades meet.
This is one of the most important differences between sharpening scissors and sharpening a knife.
Step 6: Reassemble and test
Put the blades back together and tighten the pivot.
Do not automatically tighten the screw as much as possible. The blades need enough tension to stay together while still moving smoothly.
Cut paper or scrap fabric and check the result.
If the scissors cut smoothly from the heel toward the tip, stop. More sharpening is not necessarily better.
How to Sharpen Scissors With Aluminum Foil
Aluminum foil is one of the most commonly recommended home remedies for dull scissors.
It can help with very lightly dulled household scissors, but it is not a substitute for proper sharpening.
Fold a sheet of aluminum foil several times to create a thicker strip. Then make repeated cuts through the folded foil.
The friction and abrasive action can remove some residue and slightly affect the edges.
But there is an important limitation: cutting foil does not precisely reproduce the original bevel of the scissors.
If you have expensive fabric shears, tailoring scissors, precision scissors, or professional tools, use a proper sharpening method instead.
For an inexpensive pair of household scissors that is only slightly dull, however, foil can be a reasonable quick experiment.
How to Sharpen Scissors With Sandpaper
Sandpaper provides another simple option.
Choose relatively fine-grit sandpaper rather than extremely coarse abrasive paper. Fold it so the abrasive side faces outward and make repeated cuts through it.
Use several long cuts rather than hundreds of tiny snips.
Afterward, wipe the blades clean and test them.
This method works best as a maintenance technique for mildly dull scissors. If the blades are significantly damaged, sandpaper gives you much less control than a sharpening stone.
A useful trick: cut from different sections
Do not make every cut in exactly the same place on the blades.
Use the full length of the scissors so that the abrasive contacts the heel, middle, and tip. This gives you a better indication of whether the entire cutting edge is functioning properly.
Can You Sharpen Scissors With a Glass Jar?
You may have heard that repeatedly cutting the rim of a glass jar can sharpen scissors.
The idea is that the blades scrape against a hard surface and the friction changes the edge.
It is not a method I recommend.
Glass is hard and brittle, and deliberately cutting around a glass container gives you poor control over the sharpening process. It can also create unnecessary safety risks and does not reliably reproduce the original cutting bevel.
There are safer ways to restore scissors with common household materials.
How to Sharpen Fabric Scissors
Fabric scissors deserve special attention because their performance depends heavily on alignment and edge geometry.
If your sewing scissors are dragging through fabric, first clean the blades and check the pivot tension.
If they still fail to cut cleanly, a sharpening stone can restore the bevel.
For fabric shears:
- Separate the blades if possible.
- Clean away lint and residue.
- Identify the existing bevel.
- Sharpen with light, consistent strokes.
- Remove any burr.
- Reassemble and adjust the pivot.
- Test on the type of fabric you normally use.
Do not test expensive fabric shears by cutting paper repeatedly. Paper fibers can be surprisingly abrasive, and fabric scissors are best reserved for their intended material.
How to Sharpen Scissors Without Taking Them Apart
Some scissors cannot be disassembled easily.
In that situation, open the scissors as widely as the design permits and work on one blade at a time.
The main challenge is keeping the sharpening tool aligned with the existing bevel.
A small sharpening rod or narrow abrasive surface can sometimes make this easier than a large flat stone.
Work slowly. It is better to make several light passes and inspect the edge than to make a few aggressive passes that remove too much metal.
A Surprisingly Important Step: Adjust the Pivot
One of the most overlooked parts of restoring scissors is the pivot.
Scissors work because the two blades maintain controlled contact as they move. If the pivot becomes loose, the blades may separate slightly during cutting.
That can produce symptoms that look exactly like dullness.
After sharpening, hold the scissors up and slowly close them.
If the blades do not remain in close contact, inspect the pivot screw.
Turn a screw-style pivot only a small amount at a time and test the scissors after each adjustment.
Too loose: the blades separate and material gets pushed between them.
Too tight: the scissors become difficult to open and close.
The ideal adjustment is the point where the blades stay together during cutting without creating excessive resistance.
This is a particularly useful insight for older household scissors: sometimes what feels like a sharpening problem is actually a tension problem.
Common Sharpening Mistakes to Avoid
1. Using too much pressure
Heavy pressure feels productive, but it can remove metal unnecessarily and make it harder to maintain the original bevel.
Let the abrasive do the work.
2. Changing the bevel angle
Creating a completely new angle can make the scissors perform worse even if the edge looks shiny.
Follow the existing geometry.
3. Sharpening only the tips
If you focus exclusively on the tips, the rest of the blade may remain dull.
Scissors should generally cut progressively along their working length.
4. Ignoring blade alignment
A beautifully sharpened pair of badly aligned scissors can still perform poorly.
Always evaluate the relationship between the two blades.
5. Over-sharpening
You do not need to keep sharpening until the edge looks mirror-polished.
The goal is functional cutting performance, not cosmetic perfection.
6. Using coarse abrasives unnecessarily
Very coarse abrasives remove metal quickly. That can be useful for repairing serious damage, but it is excessive for ordinary dullness.
Start conservatively.
When Sharpening Is Not Enough
Sharpening cannot fix every scissors problem.
Consider professional sharpening or replacement if the blades have:
- Deep chips
- Major bends
- Severe corrosion
- Large nicks
- A damaged pivot
- Serious misalignment
There is also a practical economic question.
A cheap pair of basic scissors may not be worth extensive restoration. High-quality tailoring shears, barber scissors, kitchen shears, or specialized tools usually justify more careful sharpening because their blade geometry and construction are worth preserving.
Which Sharpening Method Should You Choose?
| Method | Best for | Control | Overall usefulness |
|---|---|---|---|
| Sharpening stone | Proper restoration | High | Best choice |
| Diamond stone | Durable, controlled sharpening | High | Excellent |
| Sandpaper | Mild dullness | Medium | Good for simple jobs |
| Aluminum foil | Very light dullness | Low | Quick temporary option |
| Glass jar method | — | Very low | Not recommended |
The more valuable the scissors, the more important it becomes to use a controlled sharpening method.
Three Practical Insights That Save Time
Sharpen less, test more
A common beginner mistake is deciding how many strokes the scissors need before starting.
Instead, sharpen gradually and test frequently. The exact amount of metal required depends on the condition and construction of the scissors.
Cutting quality matters more than edge appearance
A blade can look bright and sharp under good lighting while the scissors still cut badly.
What matters is whether the two edges interact correctly as the blades pass each other.
The last few millimeters can reveal the real problem
If scissors cut beautifully near the hinge but fail consistently at the tip, do not automatically sharpen the entire blade aggressively.
That pattern can indicate wear, blade alignment, or geometry problems concentrated near the tip.
This is why testing the entire cutting length is more informative than making a single cut and declaring the scissors fixed.
How to Keep Scissors Sharp Longer
Once you have restored the edge, maintenance becomes much easier.
- Use scissors only for their intended materials.
- Keep blades clean and dry.
- Remove adhesive after using scissors around tape or labels.
- Store them closed.
- Avoid dropping them.
- Do not use fabric shears on paper.
- Check the pivot occasionally.
- Sharpen lightly when performance begins to decline rather than waiting until the blades are severely dull.
For household scissors, a small amount of routine care can prevent the need for aggressive sharpening later.
FAQ
Can I sharpen scissors at home without a sharpening stone?
Yes. For mildly dull scissors, folded aluminum foil or fine sandpaper can sometimes improve cutting performance. However, these methods provide less control than a sharpening stone. If the scissors are valuable or significantly dull, a proper sharpening stone is the safer choice for achieving a consistent result.
What is the easiest way to sharpen scissors at home?
For a quick household solution, cutting several layers of aluminum foil or fine sandpaper is relatively easy. For reliable long-term results, however, using a sharpening stone along the existing bevel is better. The easiest method and the best method are not always the same, especially with quality scissors.
How do I know if my scissors need sharpening or tightening?
If the cutting edges feel dull but remain closely engaged, sharpening may be appropriate. If the blades separate or push material between them while cutting, the pivot may be too loose. Clean the scissors and check the pivot before removing metal from the blades.
Can you sharpen fabric scissors with sandpaper?
You can use fine sandpaper as a light maintenance method, but it is not ideal for valuable fabric shears. Good fabric scissors benefit from preserving their original bevel and alignment. A sharpening stone or professional sharpening service gives you much better control.
Should both blades of scissors be sharpened?
Usually, yes, but each blade should be treated according to its existing geometry. Sharpen the beveled cutting surfaces rather than aggressively grinding every side of the blades. Maintaining the relationship between the two blades is just as important as creating a sharp edge.
How often should I sharpen scissors?
There is no universal schedule. Sharpen them when cutting performance noticeably declines rather than according to a fixed calendar. Scissors used every day for demanding materials may need attention much more often than a household pair used occasionally.
Conclusion
Learning how to sharpen scissors at home is less about finding a clever household trick and more about understanding how scissors actually cut. Start by checking whether dirt, a loose pivot, or misalignment is responsible for the problem. If the edges are genuinely dull, a sharpening stone offers the most controlled approach: follow the existing bevel, use light pressure, sharpen gradually, and test the scissors often.
For inexpensive scissors with mild dullness, sandpaper or aluminum foil may provide a quick improvement. For expensive fabric shears or scissors with chips, bends, or serious damage, professional sharpening is usually worth considering.
The most useful habit is simple: do not remove more metal than necessary. A careful few minutes of sharpening and adjustment can often bring a frustrating pair of scissors back to smooth, dependable cutting without replacing them.