
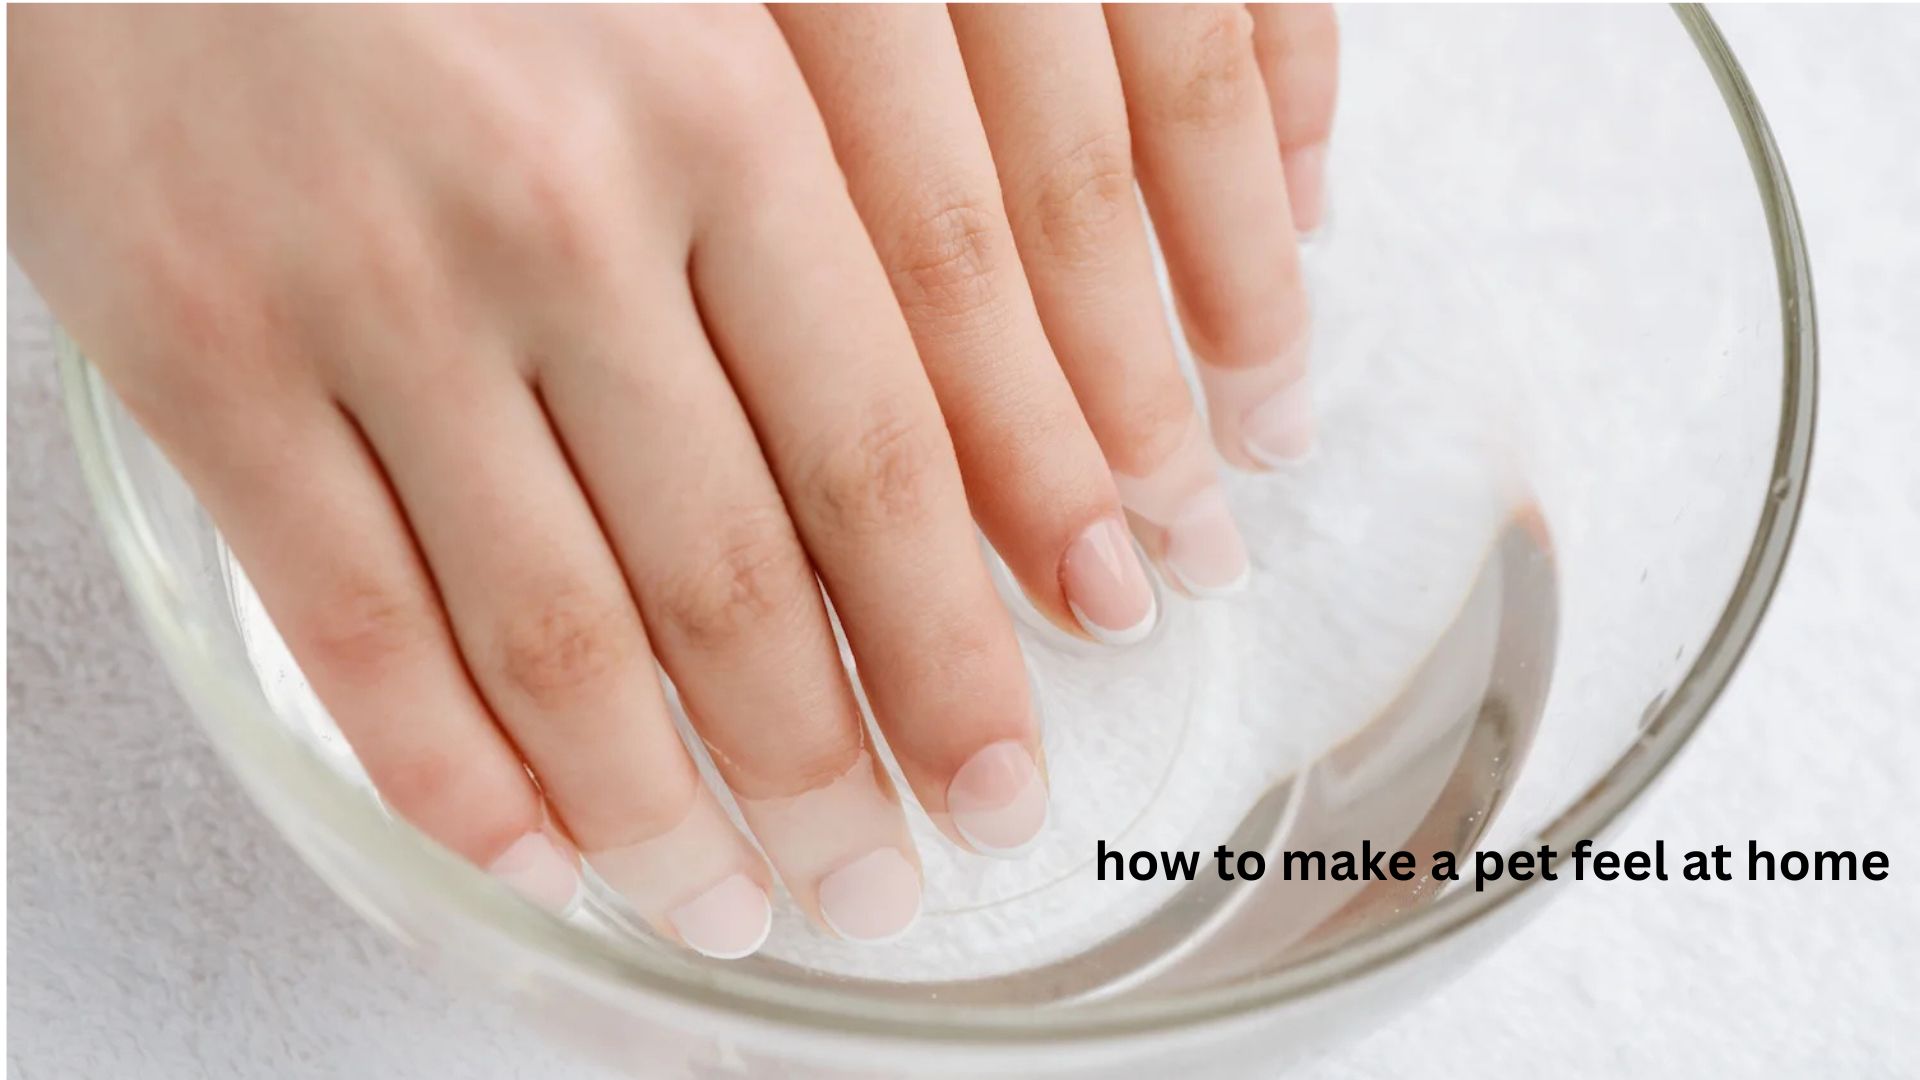
If you’ve ever looked at your grown-out acrylic nails and thought, “I’ll just pull them off,” you’re definitely not alone. Many people are tempted to peel or pry off acrylics when they start lifting or when they can’t get to a nail salon. Unfortunately, that’s one of the quickest ways to damage your natural nails, leaving them thin, painful, and prone to breaking.
Learning how to take acrylic nails off at home the right way can save you money while protecting the health of your natural nails. The process isn’t difficult, but it does require patience and the right technique. Rushing the removal or using excessive force often causes more harm than the acrylic itself.
Whether you’re removing a full set after several weeks or dealing with partially lifted nails, this guide walks you through every step. You’ll learn which methods work best, what mistakes to avoid, how long removal typically takes, and how to help your nails recover afterward. By the end, you’ll know how to remove acrylic nails safely without unnecessary damage—and you’ll understand why proper aftercare is just as important as the removal process itself.
The Quick Answer
The safest way to remove acrylic nails at home is to:
- Trim the acrylic nails short.
- File away the shiny top coat.
- Soak cotton balls in acetone.
- Place them on each nail and wrap with foil.
- Wait 20–30 minutes.
- Gently push off softened acrylic with a cuticle pusher.
- Repeat soaking if needed—never force stubborn acrylic.
- Buff lightly and moisturize your nails and cuticles.
This method protects your natural nails far better than peeling or pulling.
Why Acrylic Nails Need Proper Removal
Acrylic nails are made from a durable mixture of liquid monomer and polymer powder that hardens into a strong protective layer. That durability is exactly why improper removal causes damage.
When acrylics are ripped off, they often take layers of your natural nail with them. This can result in:
- Thin, weak nails
- Pain or tenderness
- Peeling
- Splitting
- Increased risk of infection
- Slow nail recovery
A few extra minutes spent removing acrylics correctly can prevent weeks or even months of nail damage.
What You’ll Need Before You Start
Gather everything beforehand to make the process smoother.
Essential supplies
- Pure acetone
- Nail clippers
- Coarse nail file (100/180 grit)
- Buffer
- Cotton balls or cotton pads
- Aluminum foil cut into small squares
- Cuticle pusher or orangewood stick
- Cuticle oil
- Hand moisturizer
- Small bowl (optional)
Having everything ready helps avoid interruptions while your nails are soaking.
Step-by-Step: How to Take Acrylic Nails Off at Home
Step 1: Trim the Acrylic Nails
Use nail clippers to shorten the acrylics as much as possible.
Leave a small amount above your natural nail to avoid accidentally clipping your real nail.
Shorter acrylics:
- Soak faster
- Break down more easily
- Require less acetone
Step 2: File Away the Top Coat
Most acrylic sets have a protective top coat that resists acetone.
Using a coarse nail file:
- Remove the shiny surface.
- File evenly across the nail.
- Don’t file down to your natural nail.
This allows the acetone to penetrate much faster.
Step 3: Protect Your Skin
Acetone can dry your skin significantly.
Before soaking:
- Apply petroleum jelly around your cuticles (not on the acrylic).
- Wash and dry your hands.
- Work in a well-ventilated area.
This small step makes a noticeable difference, especially if you have sensitive skin.
Step 4: Soak the Acrylic
There are two popular methods.
Method 1: Foil Wrap (Recommended)
- Soak cotton balls in acetone.
- Place one on each nail.
- Wrap tightly with foil.
- Wait 20–30 minutes.
This keeps the acetone from evaporating and is usually the most effective method.
Method 2: Acetone Bowl
Pour acetone into a small bowl and soak your fingertips for 20–30 minutes.
This works well but exposes more skin to acetone, making it slightly more drying.
Step 5: Gently Remove Softened Acrylic
Once soaked:
- Remove one foil at a time.
- Push the softened acrylic away gently.
- Use light pressure only.
If the acrylic doesn’t slide off easily, it’s not ready yet.
Simply soak for another 10–15 minutes.
Patience is far safer than forcing removal.
Step 6: Remove Remaining Product
Some small patches may remain.
Rather than scraping aggressively:
- File lightly.
- Re-soak if necessary.
- Repeat until all acrylic is gone.
Professionals often repeat the soaking process several times instead of scraping. That’s one of the biggest reasons salon removals usually cause less damage.
Step 7: Buff and Smooth
After the acrylic is removed:
- Use a gentle buffer.
- Smooth rough spots.
- Don’t over-buff.
Excessive buffing removes healthy nail layers.
Your goal is simply to smooth the surface—not make it perfectly shiny.
How Long Does Acrylic Nail Removal Take?
Removal times vary depending on:
- Acrylic thickness
- Brand of acrylic
- Age of the manicure
- Whether gel polish is on top
Typical timeline:
| Step | Time |
|---|---|
| Trimming | 5 minutes |
| Filing | 10 minutes |
| Soaking | 20–40 minutes |
| Removing softened acrylic | 10–20 minutes |
| Buffing and moisturizing | 10 minutes |
Total time is usually 45–75 minutes.
Trying to finish in 15 minutes usually leads to damaged nails.
Common Mistakes That Damage Natural Nails
Many people unintentionally harm their nails by making these mistakes.
Pulling off lifted acrylic
Lifted edges might seem ready to come off, but the acrylic is often still firmly attached underneath.
Pulling it off can remove layers of your natural nail.
Using dental floss
Social media sometimes recommends sliding floss underneath acrylic nails.
This works only if the acrylic has naturally lifted almost completely—and even then, it often damages healthy nail layers.
Using metal tools aggressively
Scraping with force can gouge your nail plate.
If you have to push hard, the acrylic isn’t soft enough.
Skipping the filing step
Without removing the top coat, acetone takes much longer to dissolve the acrylic.
Many people think the acetone isn’t working when the real issue is the intact protective layer.
Not moisturizing afterward
Acetone removes natural oils.
Without replacing that moisture, nails become brittle and more likely to split.
What If You Don’t Have Acetone?
Technically, acrylics can be removed without acetone, but it’s much more difficult.
Some alternatives include:
- Warm soapy water (takes hours and usually doesn’t fully work)
- Oil soaking (helps loosen lifting acrylic but doesn’t dissolve it)
- Dental floss methods (not recommended)
- Filing the acrylic down slowly
In most cases, pure acetone remains the safest and most effective option when used correctly.
How to Care for Your Nails After Removal
Many people focus only on removal, but recovery is equally important.
Hydrate immediately
Massage cuticle oil into each nail.
Then apply a rich hand cream.
Repeat daily.
Give your nails a break
If possible, wait one to two weeks before applying another acrylic set.
This allows:
- Moisture balance to return
- Small splits to heal
- Nail flexibility to improve
Keep nails short
Short nails are less likely to split while they’re recovering.
Trim and file them regularly.
Wear gloves during cleaning
Cleaning chemicals and frequent water exposure weaken freshly exposed nails.
Gloves provide valuable protection.
Unique Insight: Healthy Nails Bend Slightly
Many people assume strong nails should feel rock hard.
In reality, healthy nails have a small amount of flexibility.
Immediately after acrylic removal, nails may feel unusually soft because they’ve been protected for weeks. As they recover and regain natural moisture, that slight flexibility returns—and that’s actually a sign of healthier nails, not weaker ones.
Unique Insight: Temperature Affects Acetone Performance
One trick many experienced nail technicians know is that slightly warm acetone works faster than cold acetone.
You should never microwave acetone because it is highly flammable.
Instead, if desired, place the acetone container in a bowl of warm (not hot) water for a few minutes before use. The gentle warmth can help the acrylic soften more efficiently without increasing the risk of damaging your nails.
Unique Insight: Your Nails May Look White After Removal
Many people panic when their nails appear chalky or white after removing acrylics.
This is usually temporary.
The whiteness often comes from dehydration caused by acetone—not permanent damage.
Applying cuticle oil several times a day for the next few days usually improves the appearance significantly.
When You Should See a Professional Instead
Home removal isn’t always the best option.
Consider visiting a nail technician if:
- You feel severe pain.
- The acrylic won’t soften after multiple soaks.
- Your natural nail is cracked.
- You notice signs of infection.
- There is bleeding.
- Your nail has partially detached.
Professional removal may prevent further injury.
FAQ
Can I remove acrylic nails at home without damaging my natural nails?
Yes, you can if you use patience and the proper soaking method. The biggest mistake is trying to force the acrylic off before it has softened completely. Using acetone, removing the top coat first, and gently pushing away dissolved acrylic greatly reduces the risk of damage. Proper moisturizing afterward also helps your nails recover faster.
How long should I soak acrylic nails in acetone?
Most acrylic nails require about 20 to 30 minutes of soaking before they begin to loosen. Thicker or older acrylic sets may need an additional 10 to 20 minutes. If the acrylic doesn’t come off easily, soak it again rather than scraping aggressively.
Is it bad to peel off acrylic nails?
Yes. Peeling or pulling acrylic nails almost always removes layers of your natural nail. This can leave your nails thin, weak, sore, and more likely to split. Safe removal always involves softening the acrylic first instead of forcing it off.
Why do my nails feel thin after removing acrylics?
Your nails may feel thinner because the acrylic protected them for several weeks, making the change more noticeable. In some cases, over-filing during application or improper removal contributes to temporary thinning. Regular moisturizing and avoiding another acrylic set immediately can help your nails regain strength over time.
Can I paint my nails immediately after removing acrylics?
Yes, but it’s often better to wait a few days if your nails feel dry or sensitive. During that time, use cuticle oil and moisturizer regularly to restore hydration. If you choose to polish them right away, consider using a strengthening base coat for added protection.
How often should I give my nails a break from acrylics?
Many nail professionals recommend taking a short break every few months, especially if you’ve worn acrylics continuously. Even one to two weeks can give your nails time to rehydrate and recover. Paying attention to your nail condition is more important than following a strict schedule.
Conclusion
Knowing how to take acrylic nails off at home safely is less about having special tools and more about using the right technique. Trimming, filing the top coat, soaking patiently with acetone, and gently removing softened acrylic protects your natural nails far better than pulling or scraping. Once the acrylic is gone, proper aftercare—including moisturizing, keeping nails short, and giving them time to recover—can make a significant difference in how healthy they look and feel. With a little patience, you can remove acrylic nails confidently while keeping your natural nails strong for your next manicure.