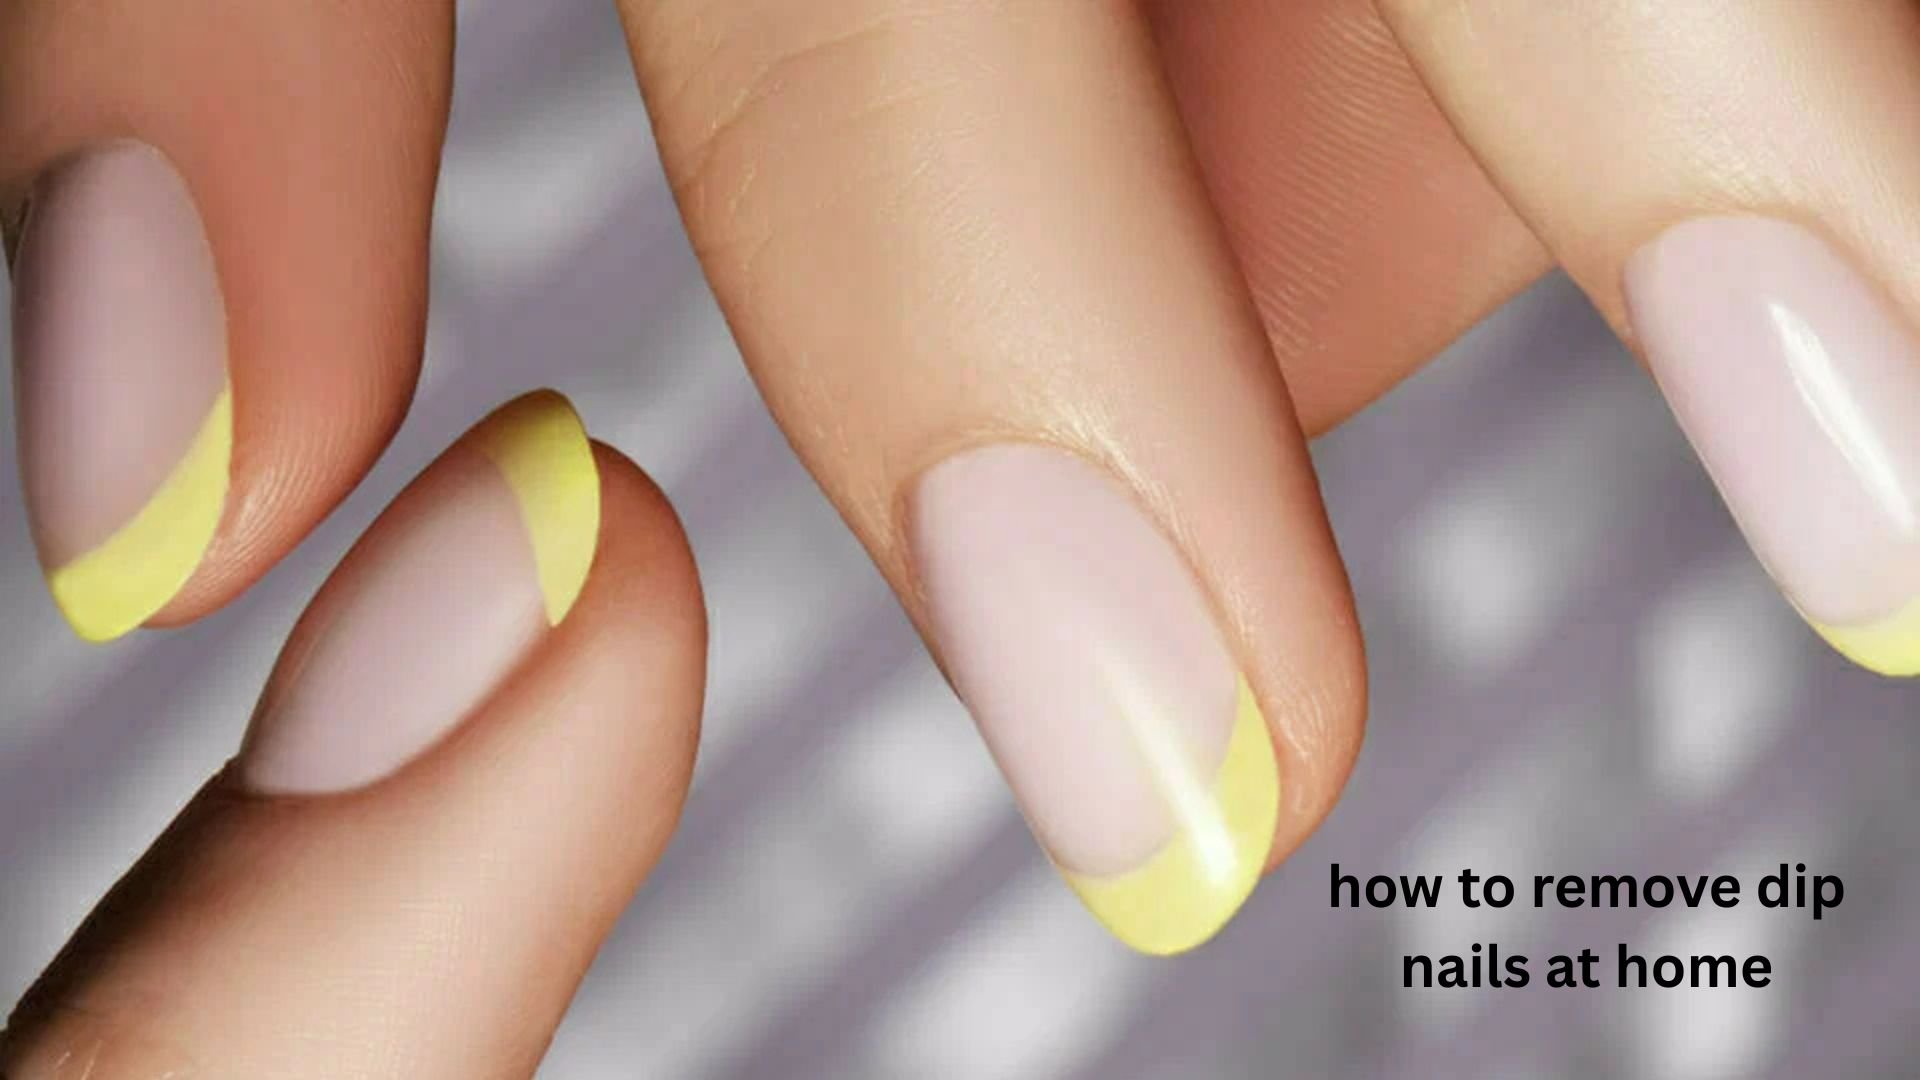
Removing dip nails at home can feel intimidating, especially if you’re worried about damaging your natural nails. Many people are tempted to peel, pry, or force the manicure off because they’re short on time, but that often leads to weak, thin, and painful nails that can take weeks to recover. The good news is that learning how to remove dip nails at home doesn’t require expensive salon tools or professional experience. With the right technique and a little patience, you can remove dip powder safely while keeping your natural nails healthy.
This guide walks you through every step, explains why each step matters, and shares practical tips based on real-world nail care practices. You’ll also learn common mistakes to avoid, how to care for your nails afterward, and what to do if your dip manicure is particularly stubborn. Whether it’s your first time removing dip nails or you’re looking for a better method than scraping them off, this article will help you achieve salon-quality results without leaving your home.
What Are Dip Nails?
Dip nails are created by applying a resin-based adhesive followed by dipping the nail into colored acrylic powder. This process is repeated several times before sealing everything with an activator and top coat.
Unlike regular nail polish, dip powder creates a thicker, more durable finish that can last three to four weeks. That durability is exactly why proper removal is important.
If removed incorrectly, the strong bond between the powder and your natural nail can pull away layers of keratin, leaving nails thin and brittle.
Can You Remove Dip Nails at Home?
Yes. In most cases, you can safely remove dip nails at home using household supplies and patience.
The process usually takes between 20 and 40 minutes, depending on:
- Thickness of the manicure
- Number of powder layers
- Brand of dip powder
- How long you’ve worn the manicure
Trying to rush the process is the biggest reason people end up with damaged nails.
What You’ll Need
Before starting, gather everything in one place.
Essential Supplies
- Pure acetone
- Cotton balls or cotton pads
- Aluminum foil
- Nail file (100–180 grit)
- Cuticle pusher or orangewood stick
- Nail buffer
- Cuticle oil
- Hand moisturizer
Optional Items
- Small bowl
- Warm water
- Petroleum jelly
- Nail clips (instead of foil)
Having everything ready prevents interruptions once the acetone begins working.
Step-by-Step: How to Remove Dip Nails at Home
Step 1: Wash and Dry Your Hands
Start with clean hands.
Wash away lotions, oils, and dirt using soap and warm water. Dry thoroughly before beginning.
Clean nails allow acetone to work more effectively.
Step 2: File Off the Top Coat
This is one step many beginners skip.
Use a coarse nail file to gently remove the shiny top layer.
Why?
The glossy top coat acts like a waterproof barrier that slows acetone penetration.
Stop filing once the shine is completely gone. Avoid filing into your natural nail.
Step 3: Protect the Skin Around Your Nails
Acetone is extremely drying.
Apply petroleum jelly around your cuticles and fingertips without getting it on the nail surface.
This helps reduce irritation while still allowing the acetone to dissolve the dip powder.
Step 4: Soak Cotton with Pure Acetone
Use 100% acetone, not regular nail polish remover.
Completely saturate a cotton ball.
Place it directly over each nail.
Step 5: Wrap Each Finger
Wrap aluminum foil tightly around each fingertip.
The foil traps heat, helping the acetone work faster.
Leave the wraps on for 15–20 minutes.
If your dip manicure has multiple layers, wait closer to 25 minutes.
Step 6: Check One Nail First
Remove one foil wrap.
The dip powder should appear soft, wrinkled, or flaky.
If it easily slides away with gentle pressure from a cuticle stick, it’s ready.
If not, rewrap the nail and wait another 5–10 minutes.
Step 7: Gently Remove Remaining Product
Using a wooden stick or cuticle pusher:
- Push gently from the cuticle toward the tip.
- Never scrape aggressively.
- Let softened product lift naturally.
If you meet resistance, soak again.
Forcing stubborn areas is one of the fastest ways to damage natural nails.
Step 8: Buff Lightly
After removing all powder:
- Smooth remaining residue with a soft nail buffer.
- Avoid excessive buffing.
- The goal is smoothing—not thinning the nail.
Step 9: Moisturize Immediately
Acetone removes natural oils.
Massage cuticle oil into:
- Nail plate
- Cuticles
- Surrounding skin
Follow with a rich hand cream.
Hydration helps nails recover much faster.
Alternative Bowl Soaking Method
Some people prefer soaking instead of foil wraps.
Here’s how:
- Pour acetone into a small bowl.
- Place the bowl inside a larger bowl filled with warm water.
- Soak fingertips for 10–20 minutes.
- Gently rub softened powder away.
Never heat acetone directly.
The warm water simply speeds the process by gently warming the bowl.
Which Removal Method Works Better?
| Foil Wrap Method | Bowl Soak Method |
|---|---|
| Uses less acetone | Uses more acetone |
| Less skin exposure | More drying |
| Cleaner process | Faster for some people |
| Better for beginners | Good for thick dip manicures |
Most nail professionals recommend foil wraps because they reduce skin exposure to acetone.
Common Mistakes That Damage Natural Nails
Avoid these habits.
Peeling the Dip Powder
This removes layers of your natural nail.
Even if the dip starts lifting, don’t peel it.
Filing Too Aggressively
Many people continue filing after removing the shine.
This thins the natural nail before removal even begins.
Using Regular Nail Polish Remover
Most removers contain very little acetone.
They may soften polish but struggle with dip powder.
Scraping Too Hard
If product doesn’t lift easily, it isn’t ready.
Always soak longer rather than applying more force.
Skipping Aftercare
Removal isn’t finished once the powder comes off.
Hydration is essential for maintaining strong nails.
What If the Dip Powder Won’t Come Off?
Sometimes removal takes longer.
Possible reasons include:
- Extra-thick application
- Multiple color layers
- Glitter dip powder
- Long-wearing salon formulas
Instead of forcing removal:
- Refile the surface lightly.
- Reapply fresh acetone.
- Wait another 10 minutes.
- Try again gently.
Patience prevents permanent nail damage.
How to Care for Your Nails After Removal
Freshly removed nails are temporarily dehydrated.
For the next week:
- Apply cuticle oil twice daily.
- Moisturize hands after washing.
- Avoid harsh cleaning chemicals.
- Wear gloves while cleaning.
- Keep nails slightly shorter.
- Avoid immediately applying another dip manicure if nails feel weak.
Giving nails several days to recover can noticeably improve their strength.
Signs Your Nails Need a Break
Consider taking a break from dip manicures if you notice:
- Peeling layers
- White patches
- Excessive flexibility
- Splitting
- Persistent sensitivity
A short break often allows nails to rebuild their natural strength.
Unique Tip #1: Fresh Acetone Works Better Than Old Acetone
One detail that’s often overlooked is the quality of your acetone.
Acetone left open for long periods slowly evaporates and absorbs moisture from the air, making it less effective.
If removal suddenly seems much slower than usual, using a freshly opened bottle can reduce soaking time without increasing damage.
Unique Tip #2: Nail Temperature Can Affect Removal Time
Cold hands slow the acetone’s ability to soften dip powder.
Instead of soaking longer, wash your hands with comfortably warm water before beginning.
This simple step can make removal more efficient without adding extra acetone exposure.
Unique Tip #3: Remove One Hand at a Time
Many experienced home users find it easier to remove one hand completely before starting the other.
This makes it much easier to unwrap foil, use tools carefully, and avoid accidentally damaging softened nails while trying to work with both hands at once.
It’s a small adjustment that improves control and reduces frustration.
When Should You Visit a Salon Instead?
Home removal works for most people, but professional help may be better if:
- Your nails are lifting from the nail bed.
- There’s pain or bleeding.
- You suspect a nail infection.
- The dip includes hard gel overlays.
- Artificial tips are attached underneath.
In these situations, professional removal is the safest choice.
FAQ
How long does it take to remove dip nails at home?
Most dip nails come off within 20 to 40 minutes. The exact time depends on how thick the manicure is and whether you’ve filed away the top coat first. Trying to rush the process usually results in nail damage, so patience is important.
Can I remove dip nails without acetone?
It’s technically possible, but it isn’t recommended. Without acetone, removal usually involves excessive filing or peeling, both of which can severely damage your natural nails. Pure acetone remains the safest and most effective option.
Is it normal for nails to feel dry afterward?
Yes. Acetone removes oils from both your nails and surrounding skin. Applying cuticle oil and a rich moisturizer several times over the next few days usually restores hydration and improves nail flexibility.
Why won’t my dip nails soak off?
Some dip systems contain additional strengthening layers or glitter powders that take longer to dissolve. Lightly filing the surface again and soaking with fresh acetone often solves the problem without forcing removal.
Can I paint my nails immediately after removing dip powder?
You can, but allowing your nails a day or two to recover is often beneficial. During this time, focus on hydration and strengthening treatments. If your nails feel healthy, applying regular nail polish afterward is generally fine.
Conclusion
Learning how to remove dip nails at home is less about special tools and more about using the right technique. Filing away the top coat, soaking with pure acetone, and gently removing softened product protects your natural nails from unnecessary damage. Rushing, peeling, or scraping may save a few minutes, but it can leave your nails weak for weeks.
Healthy nails come from consistent care before, during, and after removal. With patience, proper hydration, and careful handling, you can safely remove dip powder at home while keeping your nails strong, smooth, and ready for your next manicure.