
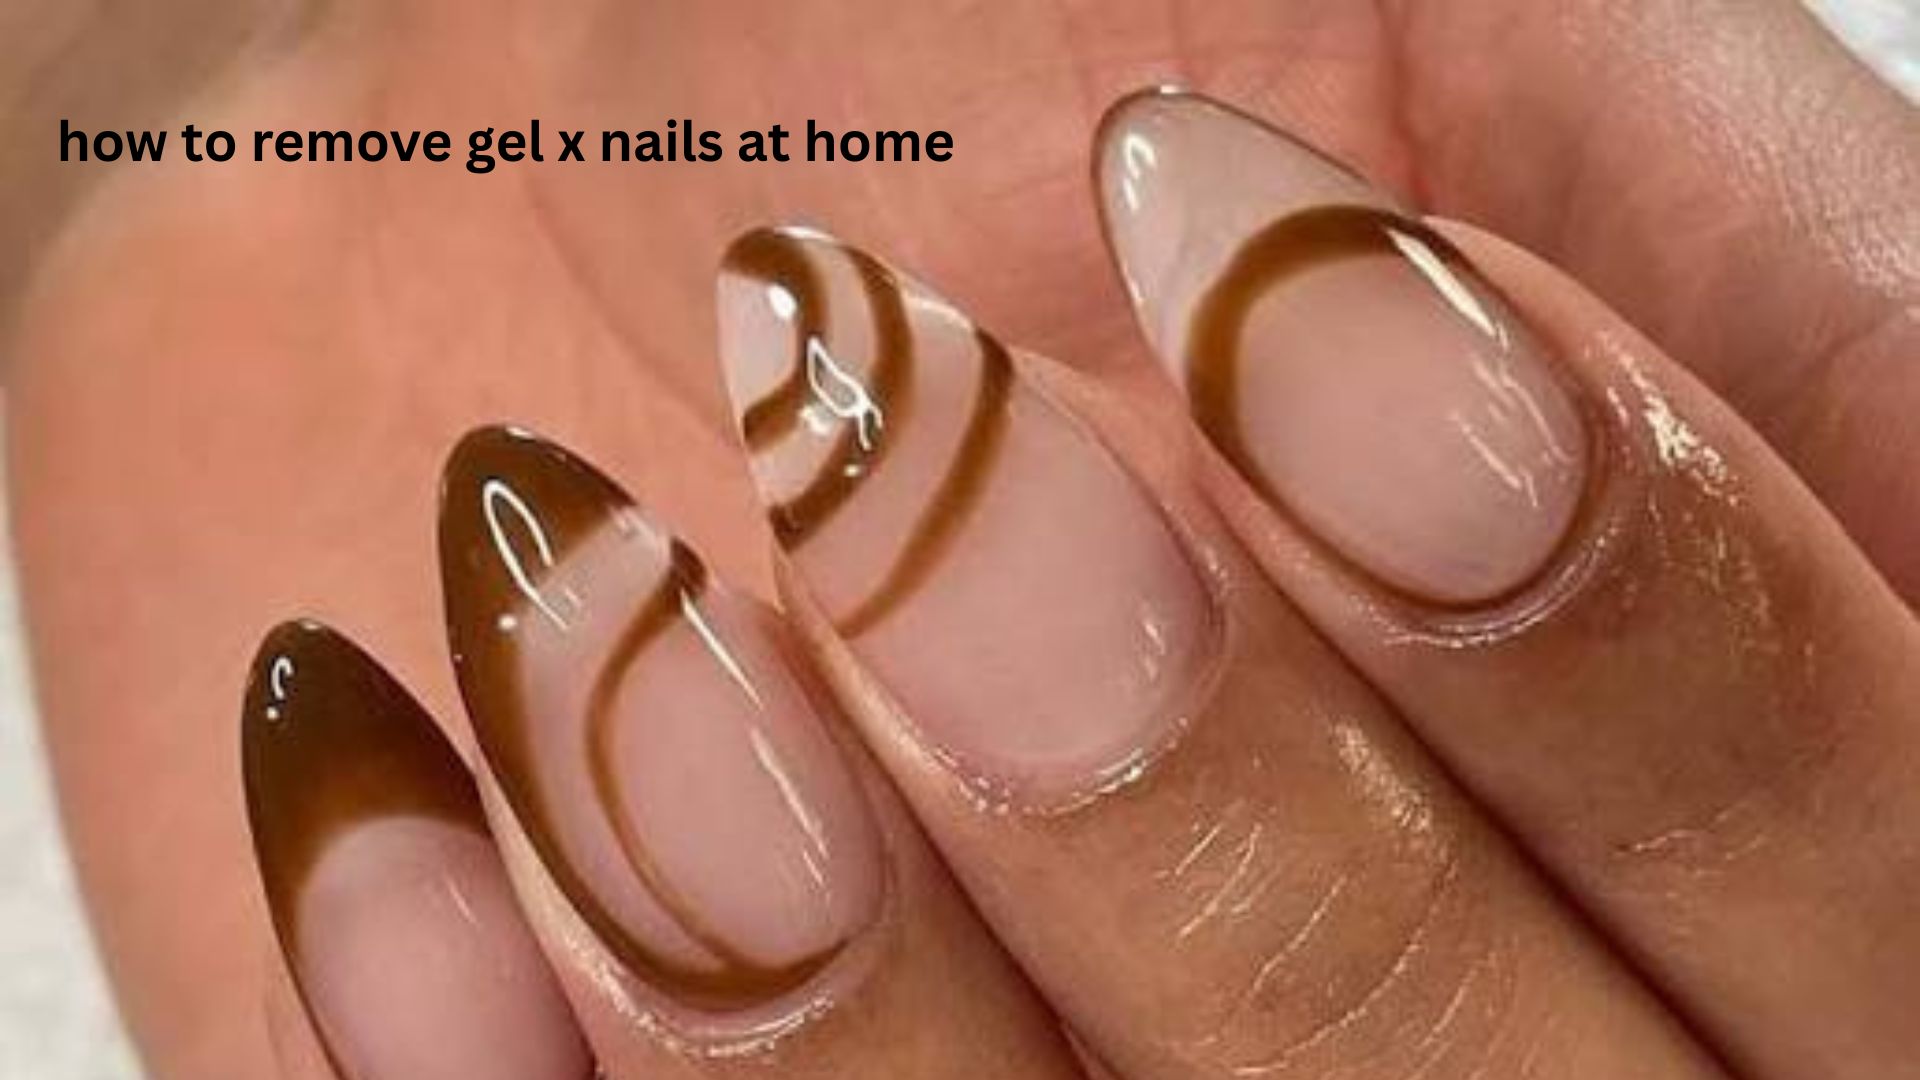
If you’ve been staring at your grown-out Gel X manicure and wondering how to remove Gel X nails at home without damaging your natural nails, you’re not alone. Many people are tempted to peel them off when lifting starts, especially if they don’t have time for a salon visit. Unfortunately, that’s one of the quickest ways to weaken your nails, leaving them thin, sore, and prone to breakage.
The good news is that removing Gel X nails at home is completely possible when you use the right technique and a little patience. Unlike traditional press-on nails, Gel X extensions are attached with a soft gel adhesive that needs to be dissolved rather than forced off. Taking a few extra minutes during removal can make a huge difference in keeping your natural nails healthy.
In this guide, you’ll learn the safest removal methods, the tools you’ll need, common mistakes to avoid, and expert tips for protecting your nails before, during, and after removal. Whether it’s your first time removing Gel X extensions or you’re looking for a better method, this step-by-step guide will help you do it confidently.
What Are Gel X Nails?
Gel X nails are full-cover soft gel extensions that are bonded directly onto your natural nails using a specialized gel adhesive. Unlike acrylic nails, which require liquid monomer and powder, Gel X extensions are lightweight, flexible, and generally gentler on natural nails when applied and removed correctly.
One important thing to understand is that Gel X nails are designed to be soaked off with acetone. This is why proper removal matters so much.
When removed correctly, your natural nails should remain healthy with little to no damage.
Why Proper Removal Matters
Many cases of nail damage aren’t caused by Gel X itself—they’re caused by improper removal.
Peeling, pulling, or prying off extensions can remove layers of your natural nail along with the adhesive. This often results in:
- Thin nails
- White patches
- Peeling
- Splitting
- Increased sensitivity
- Slow nail recovery
The safest removal process allows the gel adhesive to dissolve naturally instead of forcing it away from the nail.
Tools You’ll Need
Before you begin, gather everything you’ll need.
Essential supplies
- 100 or 180-grit nail file
- Pure acetone
- Cotton balls or cotton pads
- Aluminum foil
- Cuticle pusher (preferably wooden)
- Nail buffer
- Cuticle oil
- Hand moisturizer
- Small bowl (optional)
- Petroleum jelly (optional)
Having everything ready beforehand makes the process much smoother.
Step-by-Step: How to Remove Gel X Nails at Home
Step 1: Shorten the Extensions
If your Gel X nails are long, trim them first using nail clippers.
Shorter extensions:
- Remove faster
- Require less acetone
- Reduce the chance of accidental lifting or cracking during removal
Avoid cutting too close to your natural nail.
Step 2: File Away the Top Coat
This step is often skipped, but it’s one of the most important.
The shiny gel top coat acts as a protective barrier that prevents acetone from reaching the adhesive underneath.
Use your nail file to remove the glossy finish until the surface appears dull.
Don’t try to file through the entire extension.
You’re simply opening the surface so the acetone can work efficiently.
Step 3: Protect Your Skin
Acetone can be very drying.
Apply a thin layer of petroleum jelly around your fingertips and cuticles before soaking.
This helps reduce dryness without affecting the removal process.
Step 4: Soak the Nails
There are two effective methods.
Method 1: Foil Wrap Method
This is generally the safest.
- Soak a cotton ball in pure acetone.
- Place it directly over the nail.
- Wrap tightly with foil.
- Repeat for every finger.
- Wait 15–20 minutes.
Method 2: Acetone Bowl Method
Pour pure acetone into a small bowl.
Soak your fingertips for approximately 15–20 minutes.
Many professionals prefer foil because it slows acetone evaporation and often works faster.
Step 5: Check the Gel
After soaking, gently remove one foil wrap.
The Gel X extension should appear soft and slightly lifted.
If it doesn’t move easily, rewrap and soak another 5–10 minutes.
Patience is essential.
Step 6: Gently Push Off the Softened Gel
Using a wooden cuticle stick or cuticle pusher:
- Work slowly
- Push from the cuticle toward the tip
- Remove only softened product
If you encounter resistance, stop immediately.
Never force the extension off.
Instead, soak for a few more minutes.
Step 7: Repeat if Necessary
Some thicker applications require two or even three soaking sessions.
This is completely normal.
Trying to rush this stage often causes more damage than the Gel X itself.
Step 8: Buff Away Remaining Residue
Once the extensions are gone, you may notice a thin layer of leftover gel.
Use a soft nail buffer to smooth the surface.
Avoid aggressive filing.
Your goal is simply to remove residue—not thin your natural nails.
Step 9: Restore Moisture
Acetone removes natural oils.
Finish by applying:
- Cuticle oil
- Rich hand cream
- Nail-strengthening serum (optional)
Massage the oil into each nail for a minute or two.
This small step helps restore flexibility and shine.
How Long Does Removal Take?
Most people can remove Gel X nails at home in:
- 30–45 minutes for newer sets
- 45–60 minutes for thicker applications
- Up to one hour if multiple soaking sessions are needed
Trying to finish in 10 or 15 minutes usually leads to peeling or nail damage.
Common Mistakes to Avoid
Peeling Them Off
This is the biggest mistake.
Even if the extension feels loose, peeling often removes layers of your natural nail.
Using Fake or Diluted Acetone
Pure acetone works significantly better than regular nail polish remover.
Products containing water or conditioners may take much longer and leave stubborn residue.
Filing Too Aggressively
Some people continue filing after the top coat is gone.
This can thin natural nails before the removal process even begins.
Using Metal Tools Forcefully
Metal pushers can scrape the nail plate if used aggressively.
Wooden sticks provide more control and are generally safer for beginners.
Skipping Aftercare
Healthy nails need moisture after acetone exposure.
Ignoring aftercare may leave nails dry and brittle.
Can You Remove Gel X Without Acetone?
Technically, no.
Since Gel X uses soft gel adhesive, acetone is the safest and most effective way to dissolve it.
Trying alternatives such as:
- Warm water
- Soap
- Oil
- Alcohol
will not properly break down the adhesive.
Attempting these methods often leads to peeling or prying, increasing the risk of nail damage.
How to Tell If Your Gel X Is Ready to Come Off
The extension should:
- Look soft
- Feel flexible
- Slide with gentle pressure
- Separate without pain
If you need force, it isn’t ready.
More soaking is always safer than more pushing.
Aftercare Tips for Healthy Nails
Once your Gel X nails are removed, give your natural nails some extra attention.
Hydrate Daily
Use cuticle oil every morning and evening.
Well-moisturized nails are less likely to split.
Avoid Immediate Reapplication
If your nails feel thin, give them several days to recover before applying another set.
Even a short break can help restore moisture.
Wear Gloves for Cleaning
Household cleaners can dry nails further after acetone exposure.
Gloves provide simple but effective protection.
Keep Nails Short
Short nails are less likely to bend or crack while recovering.
Eat a Nail-Friendly Diet
Protein, iron, zinc, and biotin all contribute to stronger nail growth over time.
Healthy nails begin from within.
Gel X vs Acrylic Removal
| Feature | Gel X | Acrylic |
|---|---|---|
| Material | Soft gel | Hard acrylic |
| Removal | Soak-off | Longer soak and filing |
| Risk of damage | Lower when removed correctly | Higher if removed improperly |
| Removal time | 30–45 minutes | 45–60+ minutes |
| Natural nail impact | Generally gentler | Depends heavily on technique |
Two Expert Insights Most People Overlook
Warm hands speed up removal.
Cold fingers slow the chemical reaction between acetone and the gel adhesive. Allowing your hands to stay comfortably warm—not hot—can help the gel soften more efficiently. This simple adjustment often reduces overall soaking time without increasing the risk of damage.
Lifting doesn’t always mean it’s ready to remove.
A common misconception is that once the edges start lifting, the extension can simply be peeled away. In reality, the center of the nail often remains firmly bonded. Removing only the lifted edges can tear away layers of your natural nail, so it’s always safer to continue soaking until the entire extension releases evenly.
Signs Your Natural Nails Need a Break
Consider waiting before your next Gel X application if you notice:
- Persistent tenderness
- Excessive peeling
- Deep ridges
- Thin or transparent nail tips
- Frequent breakage
Allowing your nails time to recover can improve the longevity of your next manicure.
FAQ
Can I remove Gel X nails at home without damaging my natural nails?
Yes. The key is patience and using pure acetone to dissolve the soft gel adhesive instead of peeling or forcing the extensions off. File away the shiny top coat first, soak thoroughly, and only remove product that has softened completely. Finish with cuticle oil and moisturizer to restore hydration.
How long should I soak Gel X nails in acetone?
Most Gel X nails need about 15 to 20 minutes of soaking before checking their progress. Thicker applications or older sets may require another 5 to 10 minutes. If the extension doesn’t slide off easily, continue soaking rather than applying force.
Why are my nails thin after removing Gel X?
Thin nails are usually caused by peeling, scraping, or filing too aggressively during removal rather than by the Gel X system itself. Removing layers of your natural nail along with the adhesive can leave nails weak and sensitive. Gentle removal and consistent aftercare help prevent this issue.
Can I reuse Gel X tips after removing them?
In most cases, no. During removal, the extensions become softened by acetone and often lose their original shape and strength. For the best fit, durability, and hygiene, it’s recommended to use a fresh set of Gel X tips for each application.
Should I take a break between Gel X manicures?
If your natural nails feel healthy, you may not need a long break. However, if they’re dry, peeling, or sensitive after removal, giving them a week or two to recover can improve nail strength. Daily hydration with cuticle oil during this time can make a noticeable difference.
Conclusion
Learning how to remove Gel X nails at home safely is less about special tools and more about using the right technique. Filing the top coat, soaking with pure acetone, and resisting the urge to peel are the three biggest factors in protecting your natural nails. While the process requires patience, it helps prevent unnecessary damage and keeps your nails healthy for future manicures.
Remember that healthy nails aren’t just about beautiful polish—they’re built through careful maintenance and gentle care. By taking your time during removal and following a simple aftercare routine, you can enjoy Gel X nails without sacrificing the strength and appearance of your natural nails.